Effortless Wood & Leather Picture Frame

A super easy DIY picture frame made from suede cord and wood slats

Despite the laundry room's snazzy gallery wall, the powder room's funky wallpaper, and the living room's huge set of unstyled built-ins, I still feel like most of my walls are a desolate wasteland crying for help art. I guess that's as good a sign as any that I'm no minimalist.

There are a few reasons my walls are still bare – primarily a lack of art and a lack of frames. Go figure! Owning a house has suddenly made me very picky about what I put on the walls, and the filler from old apartments won't do anymore. I'm not trying to start a highbrow art gallery here, I just want a well-appointed collection of pieces that make me smile when I pass by. Is that so much to ask??!

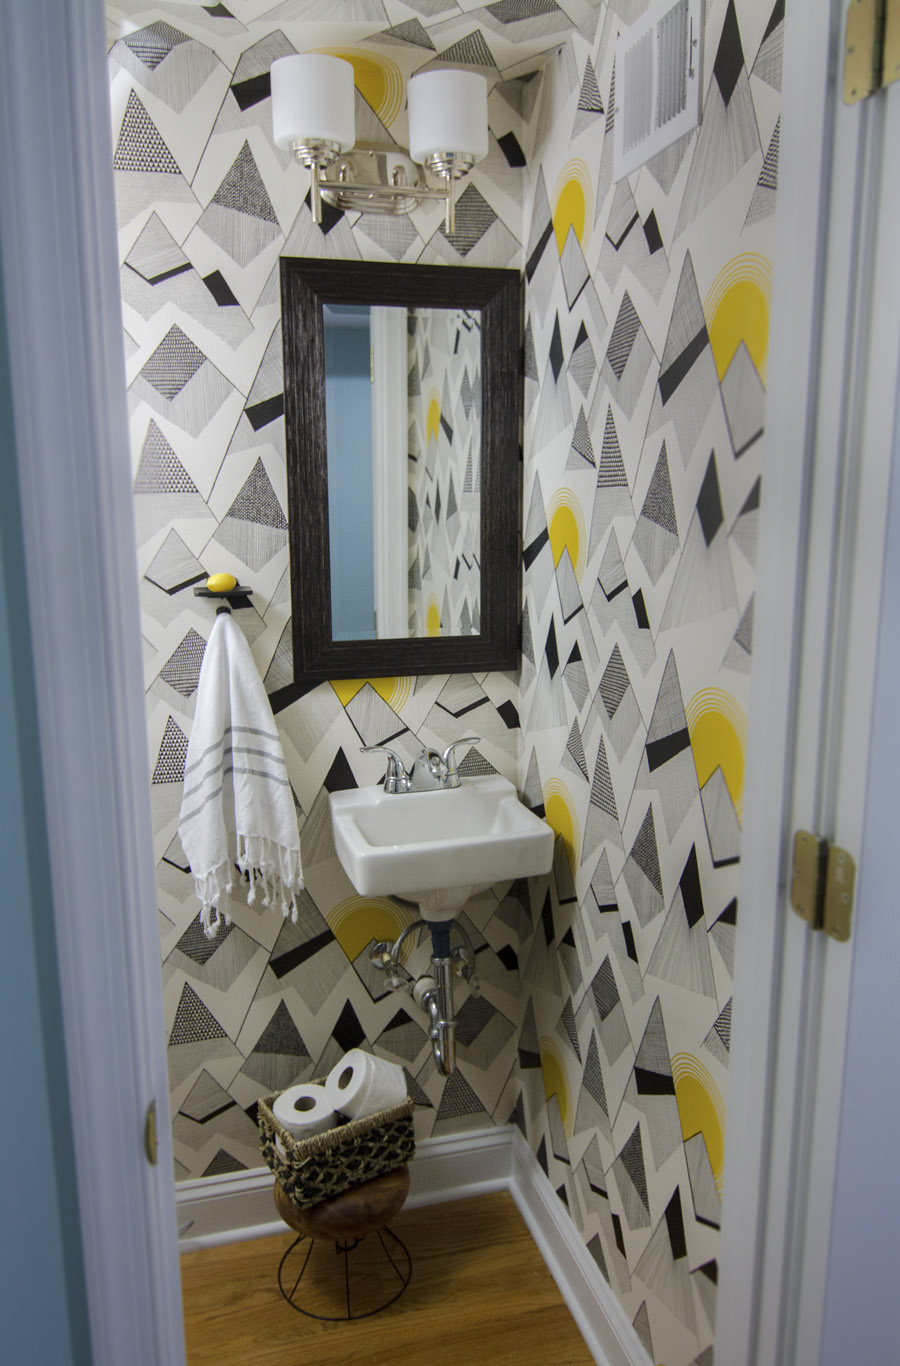
As it turns out, it’s really hard to find good artwork that doesn’t cost gobs and gobs of money. Hence the filler and the empty walls. And more surprisingly, it's hard to find matted frames in stores that fit what I want to hang. Hence the lucrative industry devoted to custom framing. This is all to say that I've set off on an art-gathering, frame-making mission – and I'm starting simple with this majestic Rifle Paper Co. calendar cover and a (seriously) effortless frame. (Can we call it a frame? Cuz I am.) But before we get to that, I just gotta say I am in love with all things Rifle Paper Co. right now! The colors & illustrations are so charming and girly. "Girly" isn't my usual aesthetic & a calendar cover isn't my usual idea of "art," but I love this one & it makes me smile, so up on the wall it goes!

OK, back to the frame. This beaut is ridiculously easy – there are probably thousands of them hanging in ancient caves yet to be found by archaeologists. All you need is:

  • Something you want to frame – ideally on a thicker material (like cardstock or unstretched canvas)
  • 1/4" x 3/4" flat screen moulding – the length should be 4 times the width of your image + breathing room. For me, that was about 4 feet.
  • Suede cord – you can find this at any craft or jewelry store. I recommend flat cord rather than round because it's easier to tie. The length should be about 5 or 6 times the height of your image (better to err on the longer side). For me that was about 9 feet.
  • A saw – I used an $8 miter box saw from Home Depot. This thing is a life saver.
  • Wood stain – I used leftover deck stain in Cordovan Brown, but you can get tiny test pots of interior stain for $3 or $4
  • Paint/stain brush
  • Scotch tape
Step 1 is to measure the length of wood needed for tops and bottoms of this simple frame.

Step 1: Measure your first cut

I carefully tore this cover off my calendar and started by laying the wood across the top. I eyeballed the width, leaving about an inch of wood overhang on each side to give me space for my leather ties. I didn’t need that much space, but I like having the flexibility to swap in larger artwork down the line. If you prefer a more precise fit, a half inch would likely work.

I cut the wood for this simple frame using a miter box back saw set, found at Home Depot for $15

Step 2: Cut 4 wood slats

I used a miter box saw to make my cuts – to clarify, that's the yellow contraption with the slits in it & the back saw. We have 3 power saws in the house, but this school-bus-lookin'-get-up is ideal for accurately cutting trim & moulding. The bottom of the box has a lip that hugs the edge of the table, making it easy to keep it straight. Then you just slide in the wood, brace it against the side of the box and saw away. It takes a little more elbow grease than a power saw, but you reap what you sow. A precise, square edge! I used the wood from my first cut to measure three more – giving me 4 total.

I stained the wood using leftover Behr Deck Waterproofing Stain to get a rich brown color

Step 3: Stain the wood

This is totally optional, but I prefer a warm brown tone over the raw pine. I used leftover deck stain, which isn't ideal for this type of project because it's got a different consistency for weatherproofing. Ideally I would have had a small test pot of interior wood stain on hand, but  #rockwhatyagot! I laid my wood out on a paper grocery bag, brushed on the stain, let it sit for a few minutes, and then wiped it off with a paper towel. I did this a couple times, letting it dry for a few minutes in between coats, to layer on more color until I got the richness I wanted. I only stained the fronts & sides of the wood – not the back – and I let it dry overnight so as not to accidentally stain my picture.

Attach the wood to the picture with some scotch tape and leather cord

Step 4: Assemble the pieces

Once the wood dried, I laid a piece face down and lined the top of my picture to be just below the top edge of the wood and horizontally centered. Once it was positioned, I used a couple small pieces of scotch tape to keep it in place. This saved me the headache of having it shift around while attaching the other pieces. Then I lined up a second piece of wood on top to make a picture sandwich and broke out the suede cord to tie it all together.

I used suede cord to fasten the wood slats around my picture.

Starting on one side, I tightly wrapped the cord around both pieces of wood a couple times and made a knot. Then I gave the cord enough slack to hang from and knotted the other side the same way. I put my knots as close to the paper as I could to ensure a really tight grip on it. This sucker is locked doowwwwwwn. (Said like Will Smith in Hitch after he drank too much Benadryl)

My plan was to cut the cord after each knot, but plans are boring – I like to shake it up! While I was laying everything out I realized I liked the look of leather running down the sides to visually complete the “frame.” It makes it look more meaty & modern, less like an ancient scroll that may disintegrate at any moment.

I placed the bottom two pieces of wood just like I did with the top – taping the picture to the base and then lining up the front piece. I ran the cord down the length of the picture, wrapped it around the bottom pieces of wood a couple times and tied a knot. Then I ran the cord back up, wrapped it once again and tied another knot. I didn't do any fancy sort of knots – just whatever got the job done. Remember, effortless is the name of the game here. The only tricky bit in this entire project was making sure these side cords weren’t tied too short (making the paper billow) or too long (lookin' like a dangled mess). I found the easiest way to test the length was to gently pull the top and bottom pieces of wood in opposite directions, fully extending the picture. *clears throat* I mean, I ran it through my gravity simulator and computed the results to 1/1000000000th of a micron thus fully accounting for the Earth's rotational effects on the last Monday of the 11th month of 2014 and the fibers and #science.... right. So we're clear now... moving on!

A close up of how I knotted the suede leather cord

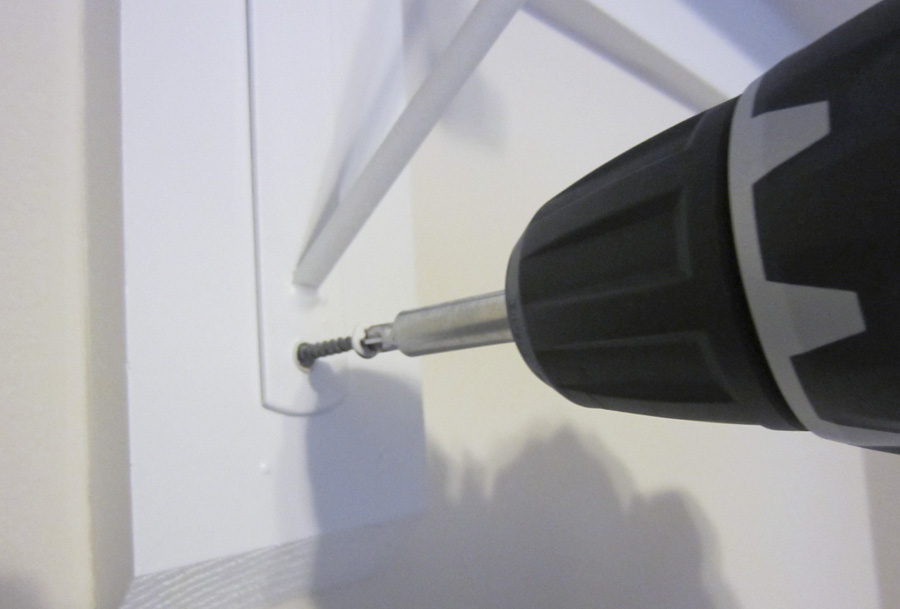
My suede cord came in 2-yard increments, which was enough to tie the tops and one side. I started with a fresh piece of rope for the other side, knotting it at the top, repeating the process of running it down the side, tying it at the bottom, and running it back up. Above is a close up of the knot on that second side. Super precise, right? And ba-da-bing-ba-da-boom! Finito!

An effortless suede & wood frame DIY

I love when things that look effortless actually are effortless. Unlike my messy-but-not-too-messy "bedhead" today. I did this entire project one night after work (+ some drying time for the stain), and now my "items to hang" pile is one piece shorter. Phew!

What's your process like for hanging things on the wall? Do you just put up whatever you have on hand or meticulously collect and plan every last nail? Would a calendar cover make the cut in your house? That last question is a trap... ;) 

Trying Not to Ruin the Wallpaper

It's done! It's done! The powder room is done!

Wallpaper is "Mountains" by Miss Print courtesy of Wallpaper Direct, soap dish & hook are from Signature Hardware, and mirror is from Homegoods

If you’re confused because you saw me finish the wallpaper 4 months ago, then that makes two of us. What feels like an eternity in blogging years was double that IRL (that's 8 months, in case it's too early to be doing math where you are). And yet the powder room was still not finished! What was the hold-up, you ask?? 

Gardenia soap dish form Signature Hardware & "Mountains" by Miss Pixie wallpaper

A spot for the soap & hand towel. A small thing, I know – & yet so important. I should probably be embarrassed, but I’m too busy being relieved. It was like running the race of my life and then crawling the last 20 meters in Crane Pose. Anti-climactic much?

I've never given much thought to the soap & hand towel sitch in other bathrooms. The soap goes on the counter, the towel goes on the towel bar. #NoBrainer And yet suddenly it wasn't so obvious once I found myself with a doll-sized bathroom, a doll-sized sink and wallpaper that I'm terrified of putting holes in. What I really wanted was this mirror from Anthropologie (or this one!) with an attached shelf for soap because that would be a 2 birds 1 stone scenario – but I couldn't bring myself to spend $300 on a mirror for the powder room. Maybe someday...

I was driving myself crazy looking at affordable options & liking none of them when I stumbled upon these little cuties on Signature Hardware’s website. They were simpler and more rustic than anything I'd considered before, but I think that’s what I liked most about them. The wallpaper is the true star here, and these guys are perfectly happy to be out of the limelight and revel in their understated charm.

      Gardenia Soap Dish

      Gardenia Soap Dish

 Solid brass hook with porcelain knob

 Solid brass hook with porcelain knob

I was gonna have to suck it up and put some holes in the wall. Four to be exact – enough to nearly give me a heart attack! So I did what any normal person does when they think they're having a heart attack – I consulted the all-knowing interwebs. Obviously. Experts seem to agree on this method for protecting the sanctity of your wallpaper: cut an upside down V in the wallpaper, peel it down and put your nail hole directly in the drywall. Then, when you decide to move whatever was hung there, you should be able to paste the paper flap back where it was for a seamless repair. It sounds pretty clever – but I'm hoping I never have to find out if it actually works. I just went with it, and so far so cute.


Signature Hardware's Gardenia soap dish & solid metal hook in oil-rubbed bronze

All the success stories I’ve read to date talk about using this trick for itty bitty nail holes. I, on the other hand, needed some big honkin’ craters for drywall anchors and screws. That complicates matters because any repairs would require me to remove the anchors, spackle the gaping hole where my heart used to be and sand it down to be level with the drywall I can no longer see – all without messing up the wallpaper. Should be fun! This is either a really dumb idea, or it’s a perfect example of "scaling up." Don't worry, guys. I have some spare paper lying around if things go totally bananas.

If you have wallpaper and feel like taking a leap of faith with me, here’s how I hung these fixtures:

1. I started by choosing a position on the wall. This gets its own step because what's usually a simple task feels like a high-stakes gamble when wallpaper is involved. I wanted the soap & towel to be convenient to reach when standing at the sink so guests don't have to bend down, reach up, or smush their arms like a T-Rex to dry their hands. I also wanted them to sit at a point in the pattern that would help me camouflage future hypothetical repairs.

Powder room complete with Signature Hardware soap dish & towel hook as well as Miss Pixie's Mountains wallpaper

2. Next, I leveled the hanging plate and just barely marked my holes with pencil. When I say "just barely," I mean my mark could have been confused for a microscopic dust particle. It’s a miracle I could see it at all.

Use a level to mark the position for a soap dish

3. Then I held my drywall anchors up to the wall & centered it on the microscopic-dust-flake-of-a-mark to determine how big of an upside-down V I needed to cut. The answer, to my dismay, was “Really big.” : [

I held the drywall anchor up to the wall to mark the size of the cut in the wallpaper

4. Then for the “Here goes nothing” moment — I used an Exacto knife to cut the upside-down V big enough to comfortably surround the drywall anchor on all sides....... What's done is done.

5. Gently, carefully, nervously I peeled the wallpaper back from the wall and bent it down. My two cut-outs looked like evil Jack-o’-lantern eyes saying, “What have you done?!”

I peeled back the wallpaper to make room for my drywall anchors

6. Then it was time to bring out the big guns, and by guns I mean drill. I drilled 1/4” holes on my original marks and then screwed in the cool drywall anchors that came with my soap dish. Those eyes just got a little creepier...

Drywall anchors in

7. From there it was a matter of attaching & adjusting the hanging plate so it was level. I screwed it in most of the way, checked the level and then tightened it down. The actual soap dish hooked onto the plate with a little screw. 

I used my drill to drive screws into the anchors

It was essentially the same dealio for the towel hook, but with smaller holes and cutouts. Thank god. So there you have it. This room is fully functioning now! And my little Low-Cost-And-Found stool that I made from a lampshade is doing a fine job holding that extra toilet paper!

The powder room is finally finished after adding Signature Hardware fixtures for hand soap & towel.

This entire powder room makeover cost me less than $150, and the results are not too shabby if I do say so myself! It wins the honor of being the first "finished" room in the house. Also the smallest. ; ] Huge thanks once again to Dana Miller of HouseTweaking & Wallpaper Direct for gifting me this awesome wallpaper. The pattern is "Mountains" by Miss Print. 

How We Optimize Closet Space in This Little House

It's August and lots of folks are moving, so I thought I'd share with you some of my favorite tips for maximizing storage and keeping closets organized. That's where the real magic happens in small houses. Closet space is a big deal, and when you don’t have an attic, basement, garage, shed, linen or coat closet, you've got to really utilize what you do have.

Despite all our house’s storage shortcomings, our master bedroom picks up a lot of slack with TWO good-sized closets. When I say “good-sized” I mean we can step inside, close the door, and still breath. A first for me! Some may call these “walk-ins”, but RubberMaid’s closet design tool informed me that our dimensions don’t technically qualify for that much-sought-after distinction. Technical, shmechnical, though – I’m walkin’ in, I tell ya!

Me standing in my not-quite-walk-in closet. 

His & hers closets were never on our list of must-haves, but it’s a pretty awesome perk that we were spoiled with at our last place too. I’m sure there’s a study somewhere out there showing that separate closets make for happier couples. It just makes things easier!

Bringing the final count up to 3 is the closet in the guest room, where all the household misfits go to die. All three closets came with the default wooden shelf & rod that I’m sure you’ve encountered at some point. Trying to store our stuff in that setup was like trying to fit a square peg in a round hole. If this was the optimal storage setup, there wouldn’t be an entire industry dedicated to organizing your closet, ya heard?!

I ripped the wooden shelves out on day 1 (more on that process at the bottom of the post) and replaced them with ClosetMaid & RubberMaid systems. We passed on the add-ons like pull-out drawers and hampers, but we could always add them down the line if we needed to. Storage bins are doing the trick for now, and we have the flexibility to change it up and move stuff around as our storage needs change. 

Speaking of storage needs, each closet has a different configuration because they store different types of things. The first step to making your closet work better for you is to take account of everything you want to put in it. I start by separating everything into piles so I can get a better sense of what takes up the most space, what’s most abundant, & what modes of storage they each require (e.g. hangers, shelves, bins, hooks). Taking inventory allows me to allocate space efficiently. 

Here are the three set-ups we've got going on. None of them are going to be winning any beauty contests, but they're organized and efficient.

My preferred set up for closet organization
Eli's preferred set up for an organized closet
Guest room closet – how we currently store all our guest bedding, linens and other odds and ends

Closet 1: The Fashionista

80% hanging : 20% shelving

I can't believe Eli has so many clothes. SIKE! My closet betrays my clothing obsession. As a toddler I’d change my outfit 10 times a day, as an adult I’ve cut back to 3, but still – I wear a lot of clothes. Sure, I could probably scale my wardrobe down a tad, but why? This closet can handle it and stuff pops back into style when you least expect it (says the girl wearing a fanny pack and jellies).

The #1 best thing you can do if you’ve got a lot of clothes to hang is install a second rod. Since I have more tops ’n bottoms than anything else, I installed two rods on the longer wall and instantly doubled my space for hanging. I positioned the top rack about 10 inches higher than the original wooden one to allow room for storage on the bottom shelf. Very tall people (like the guy I live with) might want to push the shelf even higher to accommodate longer clothing. I can comfortably reach the clothes on the top shelf, but I keep a small folding stool next to the door for accessing the bins above it. If you’re renting and can’t go whole-hog on a closet system you could just get an adjustable shower rod to anchor in and then patch the holes when you move out. 

A second rod doubles hanging space

My #2 tip for organizing hanging clothes – at the risk of seeming anal retentive – is to sort by type (i.e. blouse, jacket, skirts, pants, dresses) and then by color. Color-cloding (a term I just made up for color-coding your clothing, obvi) is seriously a time-n-money-saver. I can quickly see all my options for red shirts, blue jackets or pink pants (I have no fewer than 3 pairs). My less-worn items aren't pushed back to Narnia never to be seen again, so it saves me money when I'm not accidentally buying something I already own. #firstworldproblems

Tip #3 is for those of us who live in an area that has these crazy things called “seasons.” DC is one of them, maybe your town is another. LA, I hate you – skip to #4. I switch my closet twice a year to save space and avoid looking at wool sweaters when it’s 95 degrees out (they're just depressing). The two long storage bins on the top shelf are amazingly spacious (hence the 6" overhang) and they house all my out-of-season clothes (save for coats, which live in a wardrobe downstairs). The other bins hold my winter shoes, swimsuits, handbags, scarves, leotards and wigs. You know…the usual. 

Tip #4: Save your back and get your shoes off the ground. Is anyone surprised that attempts to keep your shoes organized on the floor of your closets lasts about a day? Who wants to kneel down to meticulously place your shoes while taking 5 dresses to the face? I set this RubberMaid shoe shelf above my third clothing rod to keep the kicks I wear most within easy reach. There’s a second one below my dresses for the heels I’ve all but banned and a basket for wrangling unwieldy flip flops.

Towel and toilet paper racks are re-purposed for jewelry organization
Command hooks make useful storage out of closet walls
Storing shoes at eye level makes it more likely you'll keep them organized

Tip #5 is the same one you've heard from me time and again: Use the walls! Remember when I showed you my bathroom and mentioned that I had to replace the towel racks immediately? Well, waste not, want not. Those puppies found new life as jewelry organizers on my closet wall. My necklaces no longer get tangled and I can grab some bling while I’m choosing an outfit. Efficiency! Trying to camouflage all those colors and styles in the bedroom never worked well for me anyway. Command hooks hold my fedora and whatever handbag I’m crushing on at the moment, (the cross-body strap on this one is folded and tucked into the purse so it hangs shorter). My yoga mat is straight chillin' on a simple screw above the door, and I still see walls, so there’s room to expand! ; ] 

Closet 2: The Gear Guy

50% hanging : 50% shelving

Eli has far less apparel than I do & way more “gear” of the camping and camera varieties. Different stuff calls for a different closet configuration! He carved out half for hanging and half for shelving. His closet looks more orderly than mine because he has fewer clothes, but even still, his clothes look neater because they're on matching hangers – that’s tip #6, folks! I like wooden hangers because they're clothes-friendly, but they do take up more real estate. Given the size of my wardrobe, I may need to invest in slim hangers for my own closet.

Matching hangers make a big difference by creating a clean look in your closet

Eli's camping gear is contained in his pack above his shirts and all his luggage is nested like Russian dolls. His accessories are organized with specialty hangers and hooks on the back wall for really easy access, a carabiner holds his murse, and his out-of-season clothing is in the bins on the top right.

The top shelves in Eli's closet go to his once-in-a-while items

The remaining shelves are devoted to shoes and camera gear. Storage boxes help to keep wires, lenses, and mics manageable. The black bags go in and out pretty much every day, since he needs that stuff for work. Keeping them on the middle shelf minimizes the hassle of lugging them in and out.

Eli's camera gear is organized in bins and bags
The bottom half of his shelving wall

Closet 3: Misfit-Landia (aka "The Guest Closet")

5% hanging : 95% shelving

Last and absolutely least: the guest room closet. To my future guests, don’t get your hopes up. This closet is fully ocupado for the time being. It holds all the guest bedding, towels, pillows, and air mattresses, the vacuums, the toolbox, leftover materials from past projects, as well as the sewing machine, spare curtain rods, Eli’s old guitar and sleeping pads. Whew. I imagine the nickname “misfit-landia” is starting to make sense to you... But don’t fear – someday (after we build a shed and storage daybed) this closet will look more like the photo on the left: clear, welcoming and ready for your weekender bag. It's all patched and painted for when that day comes. 

Empty guest room closet
The guest room closet – aka land of the misfits

How We Prepped for the Closet Systems

There was a bit of a learning curve to bust out the old shelf without putting dents and holes in the drywall, but third times a charm. If you’re stuck in an unhappy relationship with your wooden closet, this is the best way we’ve found to remove it and prep for a more modern system. This post is already jam-packed with pictures of closets, so I've consolidated the step-by-step photos in this gallery. Instructions are below!

Step 1: Unscrew and remove the wooden rod. Then take a box cutter and cut around the outline of the shelf and shelf support – every where wood meets drywall. 

Step 2: Use a hammer and some strong upward momentum to hit the bottom of the shelf. You want to direct the force along the edges close to the wall (without hitting the wall, of course). It will likely take multiple swings, but eventually you’ll dislodge the nails securing the shelf. Once you do, carefully remove the shelf and any nails still laying around. 

Step 3: Pry the wooden support off the wall. This is where we ran into issues with putting dents & holes in the drywall. But never again! For the guest closet we used a crowbar, a scrap of wood and a hammer. Tucking the crowbar into the crease between the wood and the drywall, we placed the wood behind the crowbar and used that as our leverage for prying. The wood evenly distributed the pressure – saving the drywall from a rocky future. 

Step 4: Once the supports are gone, you’ll usually find a lip outlining where they once were. That would be caulk, and you can use an exacto knife to lightly cut around it and peel it off.

Step 5: It’s likely some of the drywall’s paper backing ripped off and there are probably some uneven spots. I just spackled and sanded these areas to get a smooth finish.

Step 6: After cleaning up the dust and wiping down the walls & baseboards, I applied two coats of the paint leftover from our master bath (Drizzle Sherwin Williams 6479). It’s a nice neutral that reflects light but doesn’t tint everything in the closet a weird shade. In case you were wondering, I painted the ceiling too (not that you can see it...)

Step 7: Install the closet system per the manufacturer's instructions. I allotted minimal space to hanging clothes, since most guests aren’t bring much with them, and the rest to shelving to hold all our misfits.