

Happy Friday, friends! Today is my birthday – I’m a quarter of a century old and really excited about what the next year holds! I don’t know yet what’s in store, but I have a very distinct feeling that it’s going to be wonderful. Before I tell you about this week’s house project, let me throw out an idea.…an invitation, even. I, Chloe Joy, invite you to send me your problems. Preferably the house/design/DIY variety cuz I don’t know much about cars or babies or psychoanalysis. Got a room that’s driving you nuts? Need a second opinion on paint colors? Not sure where you’re gonna store your holiday decorations? Tell me about it (no, really)! I would love to help if I can, so send me your question to chloejoy@littlehousebigcity.com (or by filling out this contact form) and include pictures if relevant. I think it would be fun to feature these Q&As here once in a while, what do you guys think?
And now back to our regular programming…
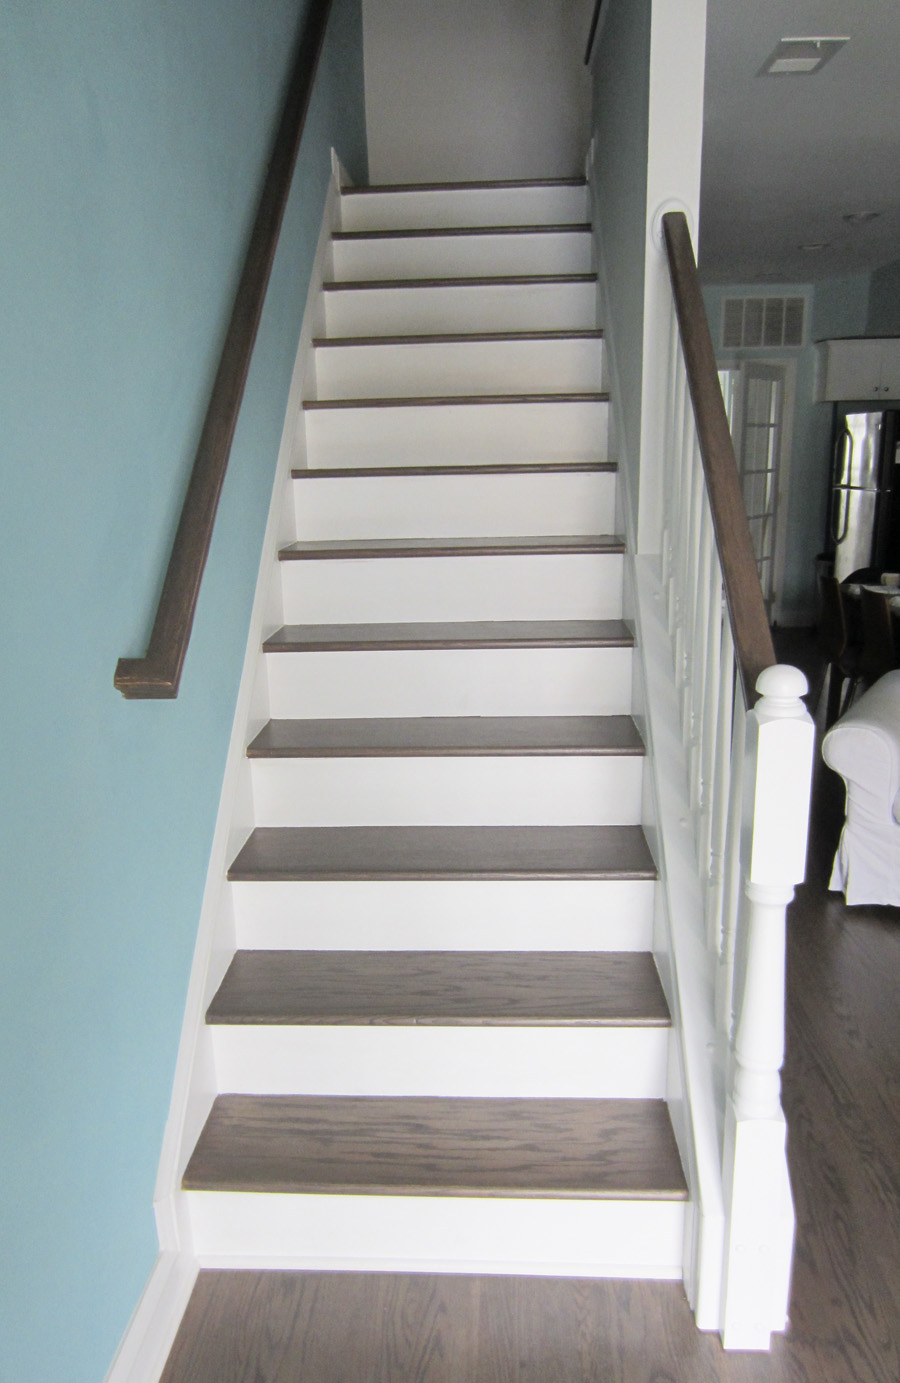
Last weekend I had to take a break from all the victory dancing to tackle the buzzkill that was my staircase. The floors were refinished and beauteous, but the newell posts and handrails were left untouched. I realized kinda late in the process that they would cost extra if I asked the flooring guys to do them, so in a minor lapse of judgement I decided I’d just do it myself. I have no idea how much more it would have cost, but I’m fairly certain it would have been worth the $$ to have them done at the same time as the floors.

Don’t get me wrong – it wasn’t particularly difficult – just tedious, time-consuming and messy. That said, it did make a huge difference and I recommend it if you’ve got a staircase that could use a facelift. It looks so much better and could be done in a weekend! The folks who renovated the house before we bought it chose generic everything, and poly’d the railings and posts just like the floors. My plan was to paint everything white except the railings, which I’d stain “grayown”, like so:

Here’s what I needed to get started:
- Sandpaper – 60 grit, 220 grit, & 400 grit
- Orbital hand-sander and Black & Decker Mouse Sander – sorta optional but really helpful
- Tack cloth
- Painter's tape
- Staining brushes
- Oil-based primer
- White semi-gloss paint to match trim
- Stain to match the floors
- Water-based polyurethane
- Paper towels
Step 1: Sanding
Before I could do anything, I had to sand everything with a rough 60-grit to remove the poly and rough up the surface Then I followed up with a fine 200-grit. I conquered my fear of the orbital hand sander and went to town on all the flat bits, like the tops of the railings and the sides of the posts. The orbital is GREAT – so efficient and it has an attached bag for collecting dust. I wish I could have used it to do everything, but it’s not well-suited for nooks and crannies – of which staircases have many. For those I used the Mouse and a sanding block designed for bending around curvy posts. This was by far the worst part of the job… after seeing how fast and effective the orbital was at getting down to nice raw wood, hand-sanding felt like running a race in a vat of jello. I focused most of my energy on the railings, since those needed to be totally raw to accept the stain, and then I just roughed up the posts which were going to be primed anyway.

Step 2: Cleaning
Starting out with the orbital sander, there was minimal dust. When I switched to the Mouse my house turned into the Serengeti. You would have thought I’d sanded an entire Redwood forest down to a few toothpicks there was so much dust, and that's when I most regretted not asking the floor guys to take care of the railings. My new beautiful hardwoods were defiled!! I wiped everything down with a damp rag and then vacuumed, swept, and mopped the entire floor. Then I used a tack cloth to gently wipe down the railings and posts again. Fun fact: Tack cloths are literally tacky – their purpose is to grab all loose particles on a surface before you paint or seal it. The ones I got from Home Depot left a sticky residue on my hands that was really hard to get off, so do yourself a favor hold tack cloth with a clean paper towel.
Step 3: Taping
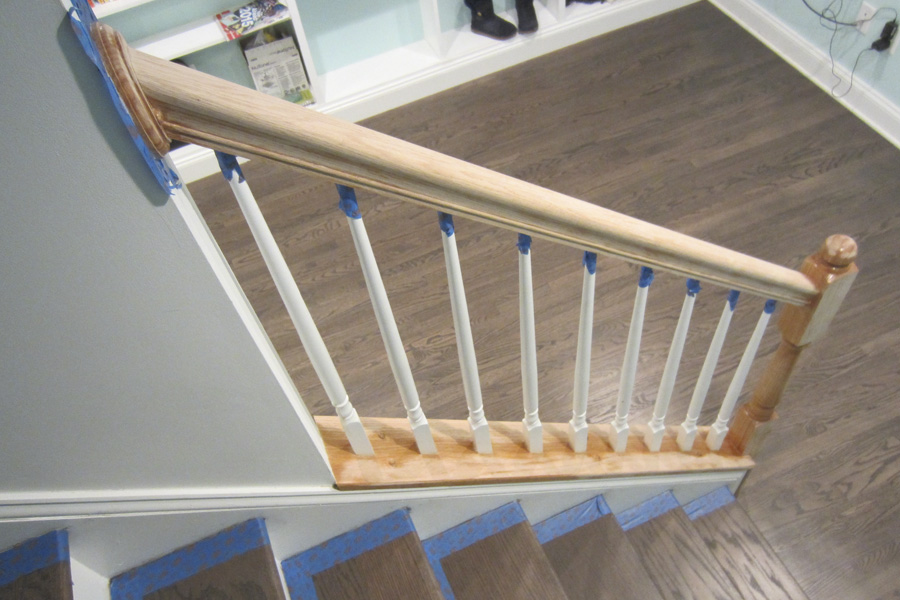
I taped the tops of the balusters, the floor around the base of the posts & balusters, and the wall behind the long railing leading to the front door. I knew I’d be touching up the stair risers eventually, so I carefully taped those edges off too.
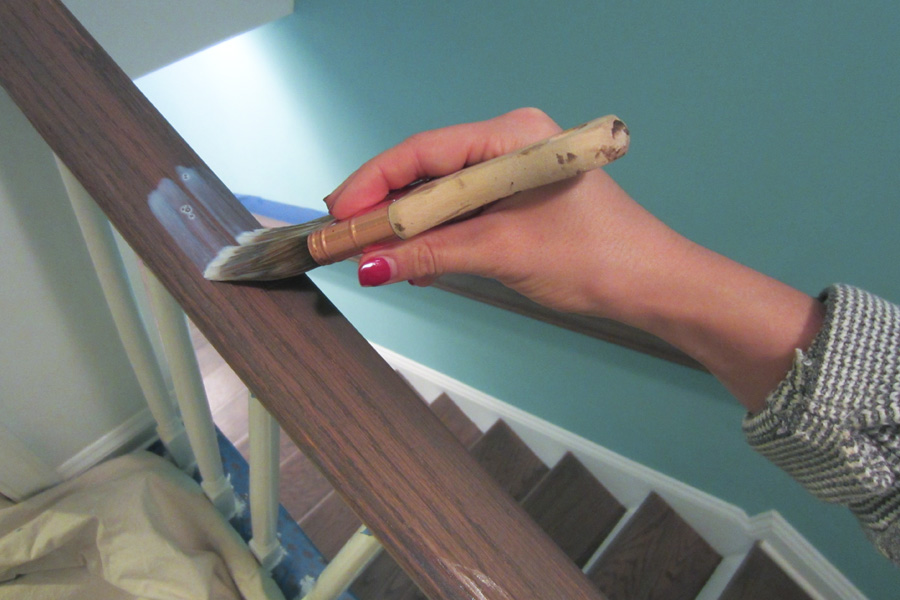
Step 4: Staining

The flooring guys left me a quart of leftover stain, which was a real blessing because I didn’t have to stress about whether it would match the floors. Stain is very watery and a breeze to apply, just watch out for drips. After stirring the can, I just dipped the edge of a paper towel in and then wiped it down the railings in the direction of the wood grain. I stained all sides of the railings, including the bottoms. Just like the floors, it took two coats to get a dark enough color. I applied the first coat Saturday night, let it dry overnight and then applied the second coat Sunday morning.
Step 5: Priming

While the railings dried, I applied a thin coat of primer to the posts and the angled base the balusters sit in at the bottom of the stairs (does that have a name??). I focused on the lower sections first, and then taped off the railing edges after they had some time to dry so I could prime the tops of the posts. I made sure to get a really snug fit with the tape – getting into all the curves and notches so I wouldn’t be priming my freshly stained railings. Keep an eye out for drips. I gave the primer about 2 hours to dry, per the instructions on the can.
Primer

3 Coats of Semi-Gloss


Step 6: Painting
I applied three thin coats of white semi-gloss paint and sanded between each coat with 400-grit sandpaper. I’m not sure the exact shade because it was leftover from the guys who renovated the house, but it’s the same white used on all the trim in our house. While I was at it, I gave the stair risers two fresh coats of paint to cover up the stain marks from the last 2 times the floors were done. Oh Lordy, talk about nerve-wracking! I did not like applying white paint so close to my brand new floors. I was so nervous about dripping paint on the floors or the tape not having a tight enough seal. There were a couple close calls and i had to put my finger nails to serious work, scratching up any paint flecks that dared besmirch the floor.
Risers Before Paint

Risers After Paint

Step 7: Sanding and sealing
Once everything was 100% dry, I lightly sanded the hand railings with the 400-grit sandpaper which made them incredibly smooth. Then I wiped them down with a clean rag, then a tack cloth, and then I applied three thin coats of poly with a brush. I used crystal clear, water-based poly in a satin finish to match the floors. The sealer I used specified not to apply more than 2 coats in one day, so I put on the first coat, waited an hour, put on the second coat, went to bed and then put on the final coat. And that was that! The stair case is lookin' fresh to death!
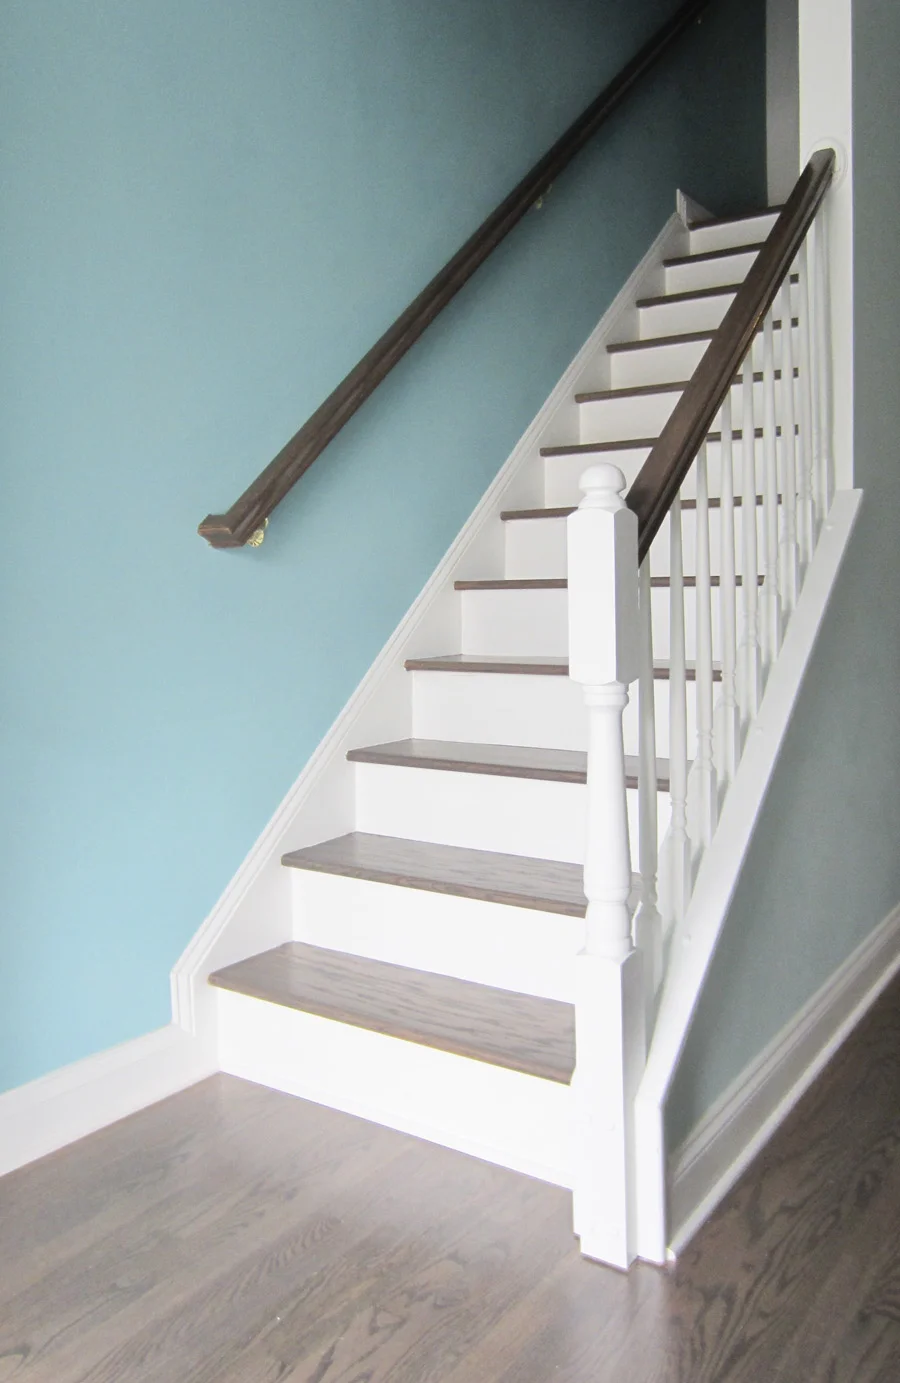
Have a great weekend y'all! I'm putting the computer away and spending time with my family to celebrate getting another year older :)