How We Optimize Closet Space in This Little House

It's August and lots of folks are moving, so I thought I'd share with you some of my favorite tips for maximizing storage and keeping closets organized. That's where the real magic happens in small houses. Closet space is a big deal, and when you don’t have an attic, basement, garage, shed, linen or coat closet, you've got to really utilize what you do have.

Despite all our house’s storage shortcomings, our master bedroom picks up a lot of slack with TWO good-sized closets. When I say “good-sized” I mean we can step inside, close the door, and still breath. A first for me! Some may call these “walk-ins”, but RubberMaid’s closet design tool informed me that our dimensions don’t technically qualify for that much-sought-after distinction. Technical, shmechnical, though – I’m walkin’ in, I tell ya!

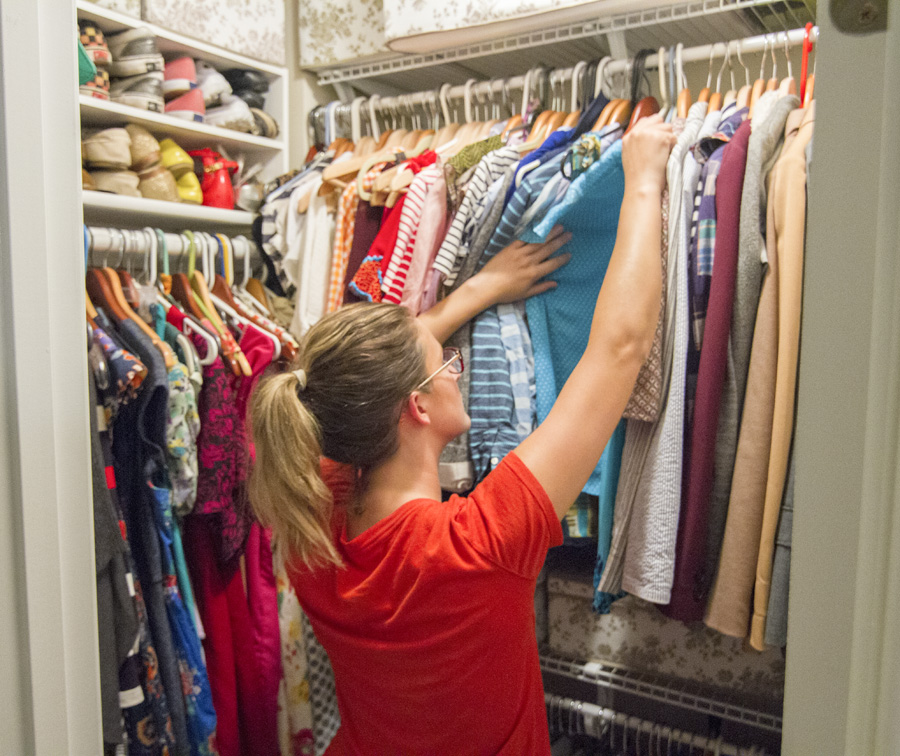
Me standing in my not-quite-walk-in closet. 

His & hers closets were never on our list of must-haves, but it’s a pretty awesome perk that we were spoiled with at our last place too. I’m sure there’s a study somewhere out there showing that separate closets make for happier couples. It just makes things easier!

Bringing the final count up to 3 is the closet in the guest room, where all the household misfits go to die. All three closets came with the default wooden shelf & rod that I’m sure you’ve encountered at some point. Trying to store our stuff in that setup was like trying to fit a square peg in a round hole. If this was the optimal storage setup, there wouldn’t be an entire industry dedicated to organizing your closet, ya heard?!

I ripped the wooden shelves out on day 1 (more on that process at the bottom of the post) and replaced them with ClosetMaid & RubberMaid systems. We passed on the add-ons like pull-out drawers and hampers, but we could always add them down the line if we needed to. Storage bins are doing the trick for now, and we have the flexibility to change it up and move stuff around as our storage needs change. 

Speaking of storage needs, each closet has a different configuration because they store different types of things. The first step to making your closet work better for you is to take account of everything you want to put in it. I start by separating everything into piles so I can get a better sense of what takes up the most space, what’s most abundant, & what modes of storage they each require (e.g. hangers, shelves, bins, hooks). Taking inventory allows me to allocate space efficiently. 

Here are the three set-ups we've got going on. None of them are going to be winning any beauty contests, but they're organized and efficient.

My preferred set up for closet organization
Eli's preferred set up for an organized closet
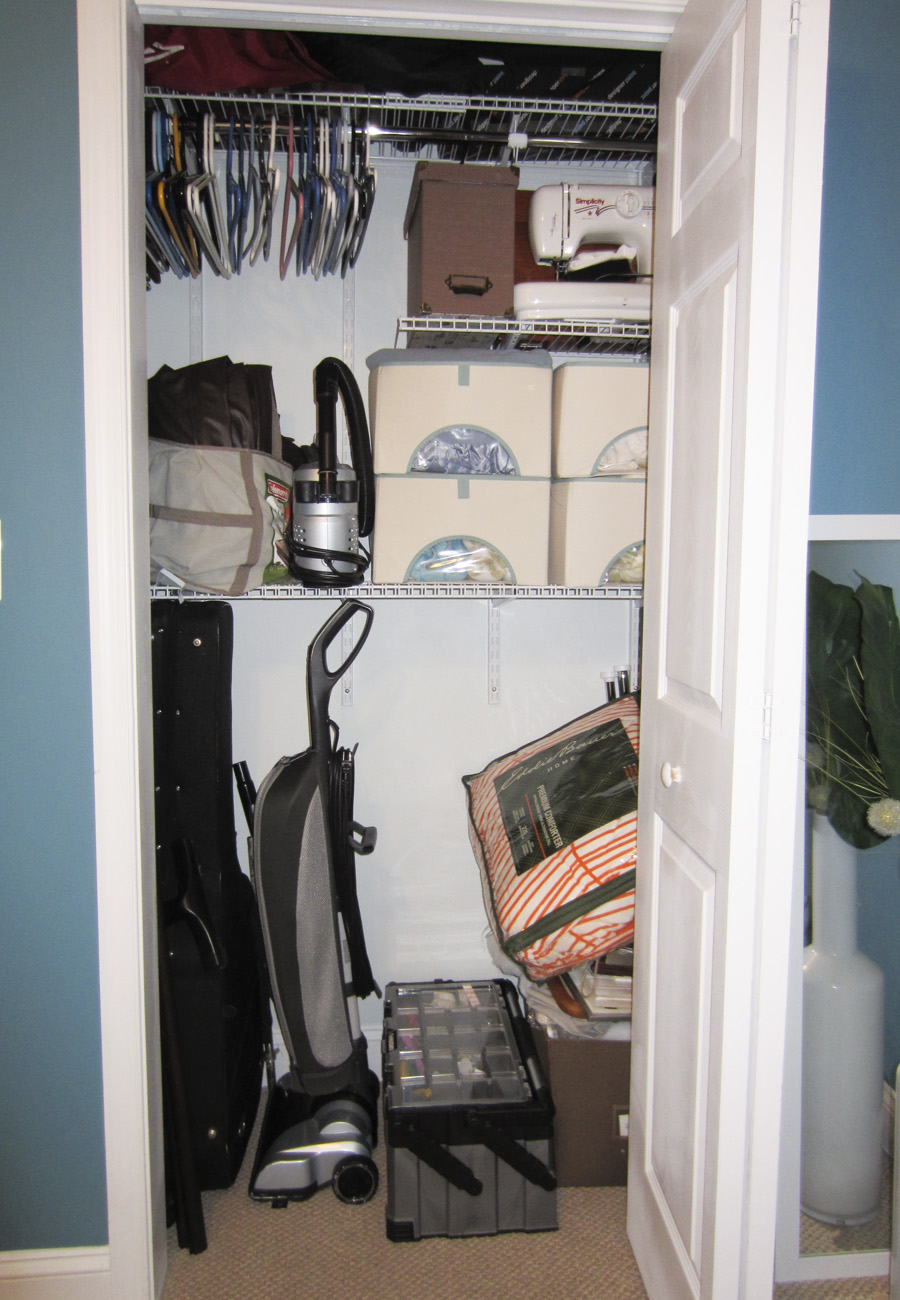
Guest room closet – how we currently store all our guest bedding, linens and other odds and ends

Closet 1: The Fashionista

80% hanging : 20% shelving

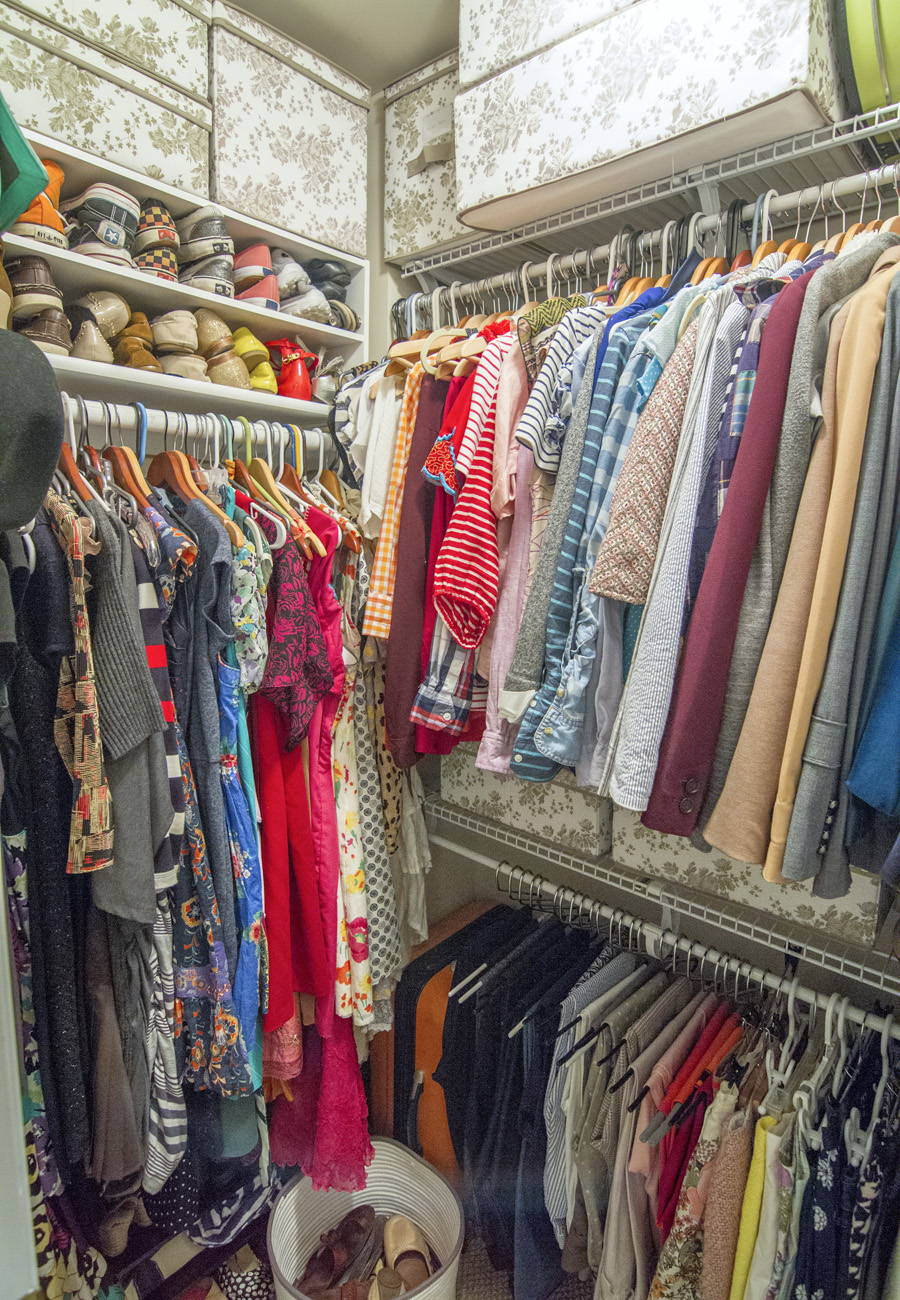
I can't believe Eli has so many clothes. SIKE! My closet betrays my clothing obsession. As a toddler I’d change my outfit 10 times a day, as an adult I’ve cut back to 3, but still – I wear a lot of clothes. Sure, I could probably scale my wardrobe down a tad, but why? This closet can handle it and stuff pops back into style when you least expect it (says the girl wearing a fanny pack and jellies).

The #1 best thing you can do if you’ve got a lot of clothes to hang is install a second rod. Since I have more tops ’n bottoms than anything else, I installed two rods on the longer wall and instantly doubled my space for hanging. I positioned the top rack about 10 inches higher than the original wooden one to allow room for storage on the bottom shelf. Very tall people (like the guy I live with) might want to push the shelf even higher to accommodate longer clothing. I can comfortably reach the clothes on the top shelf, but I keep a small folding stool next to the door for accessing the bins above it. If you’re renting and can’t go whole-hog on a closet system you could just get an adjustable shower rod to anchor in and then patch the holes when you move out. 

A second rod doubles hanging space

My #2 tip for organizing hanging clothes – at the risk of seeming anal retentive – is to sort by type (i.e. blouse, jacket, skirts, pants, dresses) and then by color. Color-cloding (a term I just made up for color-coding your clothing, obvi) is seriously a time-n-money-saver. I can quickly see all my options for red shirts, blue jackets or pink pants (I have no fewer than 3 pairs). My less-worn items aren't pushed back to Narnia never to be seen again, so it saves me money when I'm not accidentally buying something I already own. #firstworldproblems

Tip #3 is for those of us who live in an area that has these crazy things called “seasons.” DC is one of them, maybe your town is another. LA, I hate you – skip to #4. I switch my closet twice a year to save space and avoid looking at wool sweaters when it’s 95 degrees out (they're just depressing). The two long storage bins on the top shelf are amazingly spacious (hence the 6" overhang) and they house all my out-of-season clothes (save for coats, which live in a wardrobe downstairs). The other bins hold my winter shoes, swimsuits, handbags, scarves, leotards and wigs. You know…the usual. 

Tip #4: Save your back and get your shoes off the ground. Is anyone surprised that attempts to keep your shoes organized on the floor of your closets lasts about a day? Who wants to kneel down to meticulously place your shoes while taking 5 dresses to the face? I set this RubberMaid shoe shelf above my third clothing rod to keep the kicks I wear most within easy reach. There’s a second one below my dresses for the heels I’ve all but banned and a basket for wrangling unwieldy flip flops.

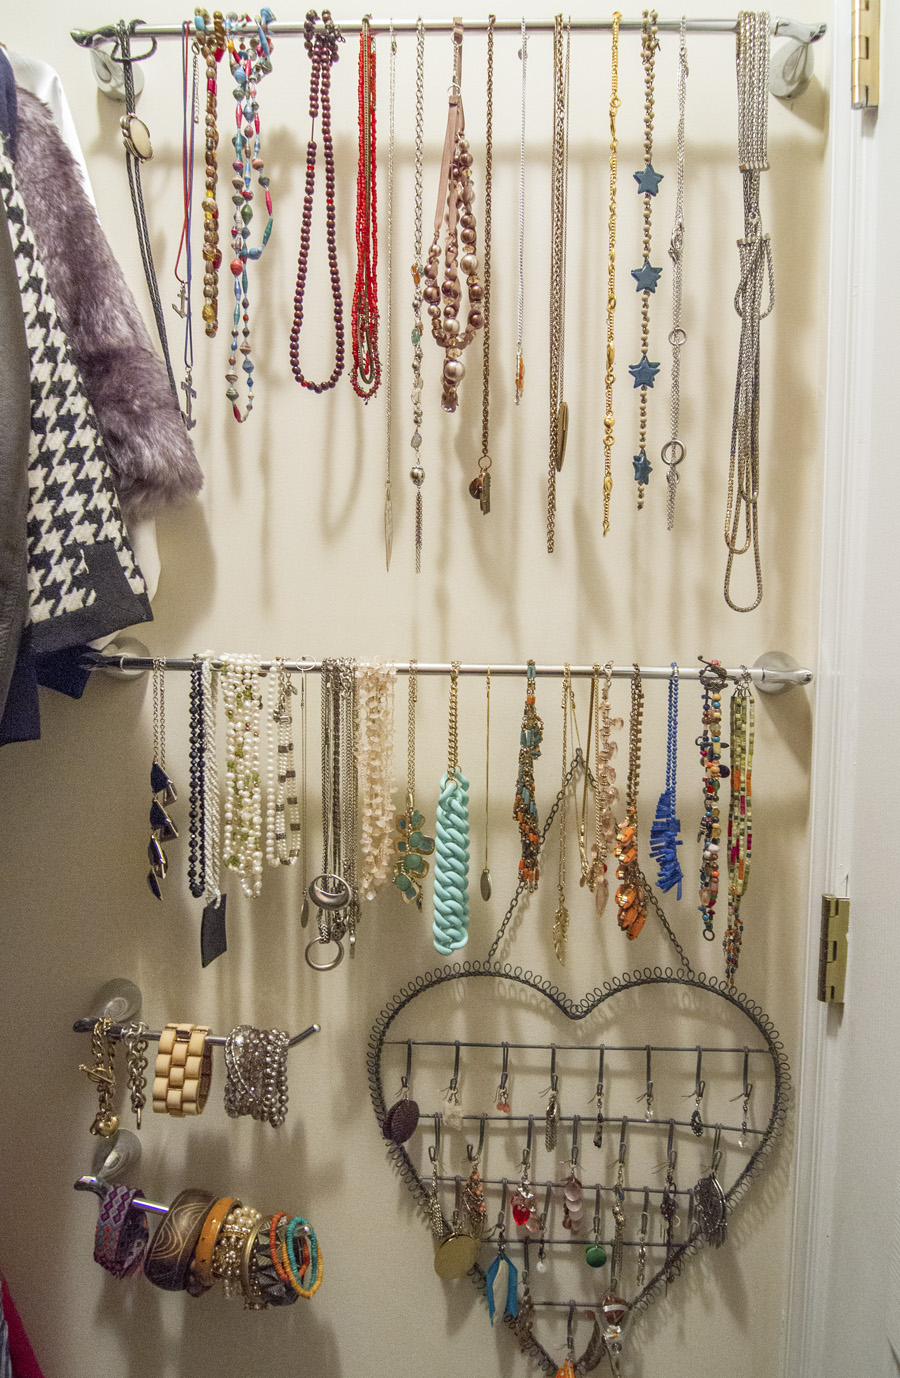
Towel and toilet paper racks are re-purposed for jewelry organization
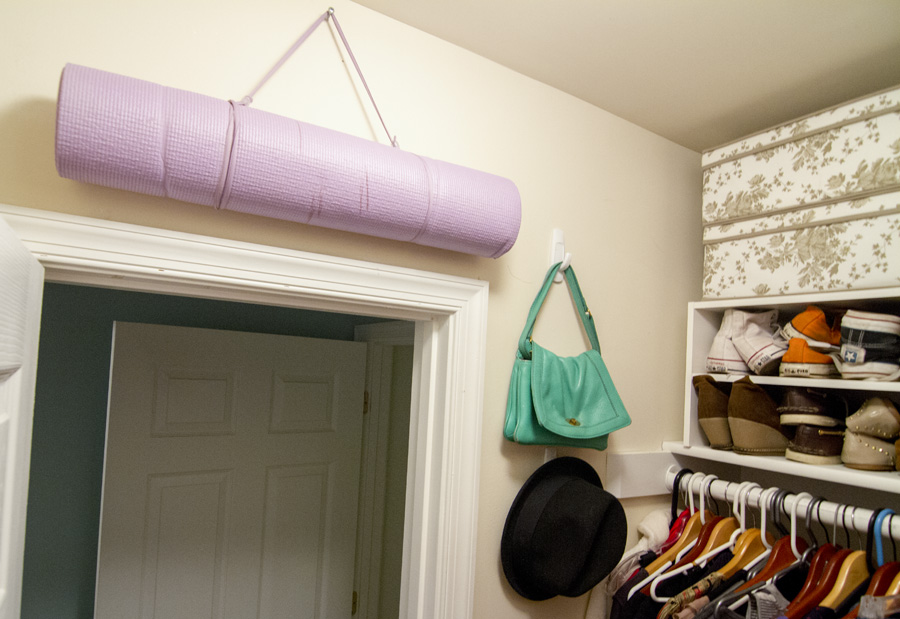
Command hooks make useful storage out of closet walls
Storing shoes at eye level makes it more likely you'll keep them organized

Tip #5 is the same one you've heard from me time and again: Use the walls! Remember when I showed you my bathroom and mentioned that I had to replace the towel racks immediately? Well, waste not, want not. Those puppies found new life as jewelry organizers on my closet wall. My necklaces no longer get tangled and I can grab some bling while I’m choosing an outfit. Efficiency! Trying to camouflage all those colors and styles in the bedroom never worked well for me anyway. Command hooks hold my fedora and whatever handbag I’m crushing on at the moment, (the cross-body strap on this one is folded and tucked into the purse so it hangs shorter). My yoga mat is straight chillin' on a simple screw above the door, and I still see walls, so there’s room to expand! ; ] 

Closet 2: The Gear Guy

50% hanging : 50% shelving

Eli has far less apparel than I do & way more “gear” of the camping and camera varieties. Different stuff calls for a different closet configuration! He carved out half for hanging and half for shelving. His closet looks more orderly than mine because he has fewer clothes, but even still, his clothes look neater because they're on matching hangers – that’s tip #6, folks! I like wooden hangers because they're clothes-friendly, but they do take up more real estate. Given the size of my wardrobe, I may need to invest in slim hangers for my own closet.

Matching hangers make a big difference by creating a clean look in your closet

Eli's camping gear is contained in his pack above his shirts and all his luggage is nested like Russian dolls. His accessories are organized with specialty hangers and hooks on the back wall for really easy access, a carabiner holds his murse, and his out-of-season clothing is in the bins on the top right.

The top shelves in Eli's closet go to his once-in-a-while items

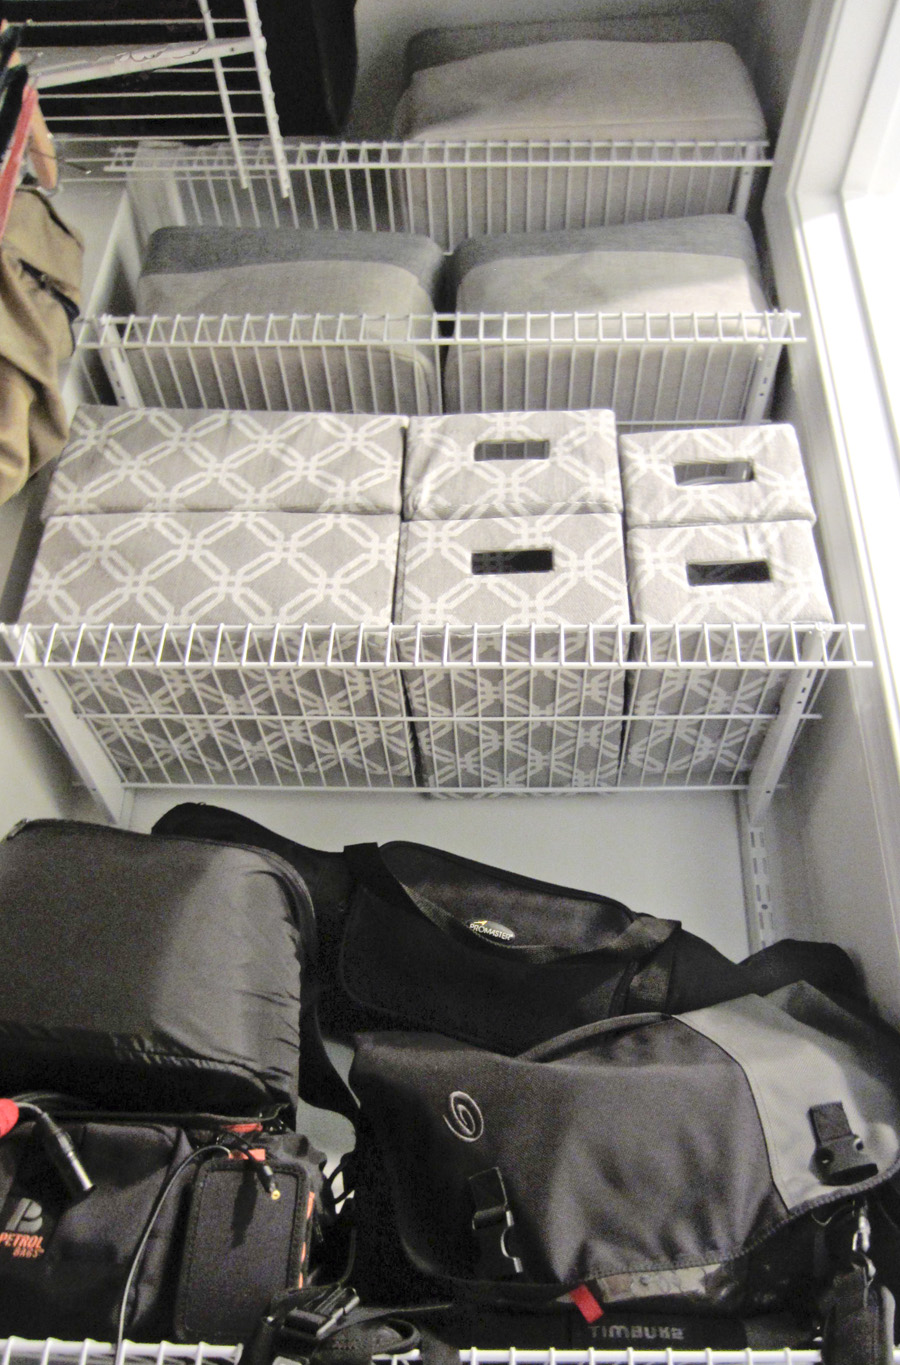
The remaining shelves are devoted to shoes and camera gear. Storage boxes help to keep wires, lenses, and mics manageable. The black bags go in and out pretty much every day, since he needs that stuff for work. Keeping them on the middle shelf minimizes the hassle of lugging them in and out.

Eli's camera gear is organized in bins and bags
The bottom half of his shelving wall

Closet 3: Misfit-Landia (aka "The Guest Closet")

5% hanging : 95% shelving

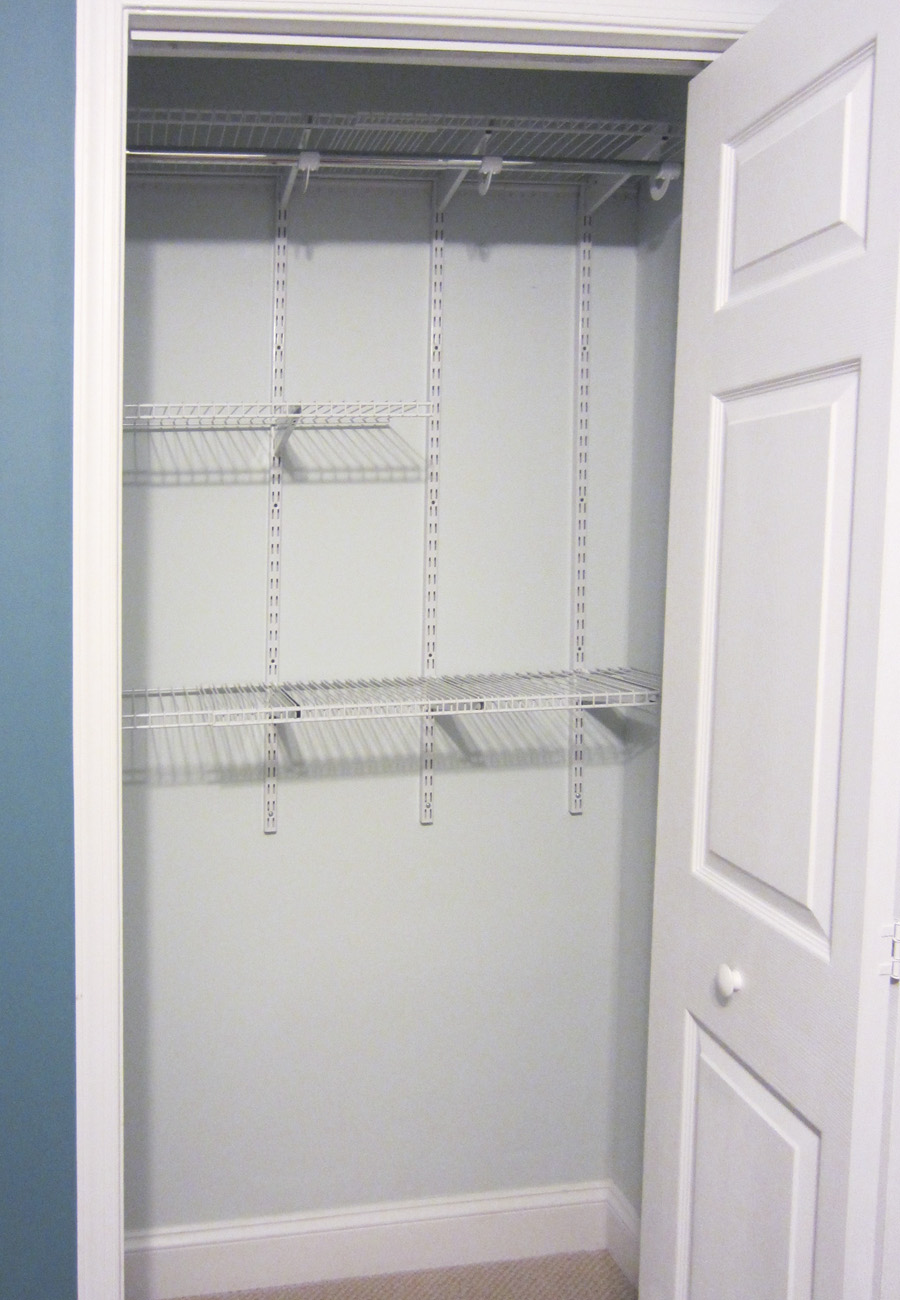
Last and absolutely least: the guest room closet. To my future guests, don’t get your hopes up. This closet is fully ocupado for the time being. It holds all the guest bedding, towels, pillows, and air mattresses, the vacuums, the toolbox, leftover materials from past projects, as well as the sewing machine, spare curtain rods, Eli’s old guitar and sleeping pads. Whew. I imagine the nickname “misfit-landia” is starting to make sense to you... But don’t fear – someday (after we build a shed and storage daybed) this closet will look more like the photo on the left: clear, welcoming and ready for your weekender bag. It's all patched and painted for when that day comes. 

Empty guest room closet
The guest room closet – aka land of the misfits

How We Prepped for the Closet Systems

There was a bit of a learning curve to bust out the old shelf without putting dents and holes in the drywall, but third times a charm. If you’re stuck in an unhappy relationship with your wooden closet, this is the best way we’ve found to remove it and prep for a more modern system. This post is already jam-packed with pictures of closets, so I've consolidated the step-by-step photos in this gallery. Instructions are below!

Step 1: Unscrew and remove the wooden rod. Then take a box cutter and cut around the outline of the shelf and shelf support – every where wood meets drywall. 

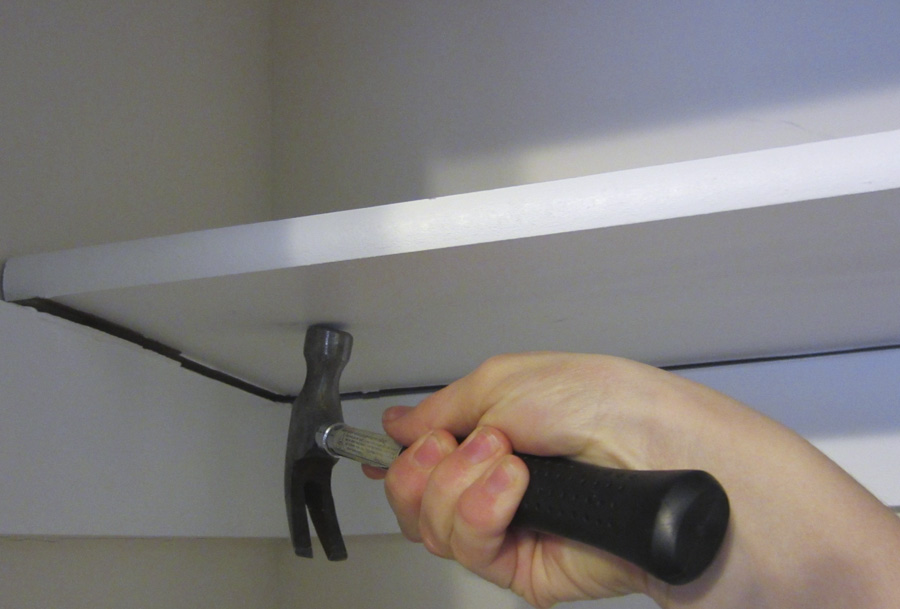
Step 2: Use a hammer and some strong upward momentum to hit the bottom of the shelf. You want to direct the force along the edges close to the wall (without hitting the wall, of course). It will likely take multiple swings, but eventually you’ll dislodge the nails securing the shelf. Once you do, carefully remove the shelf and any nails still laying around. 

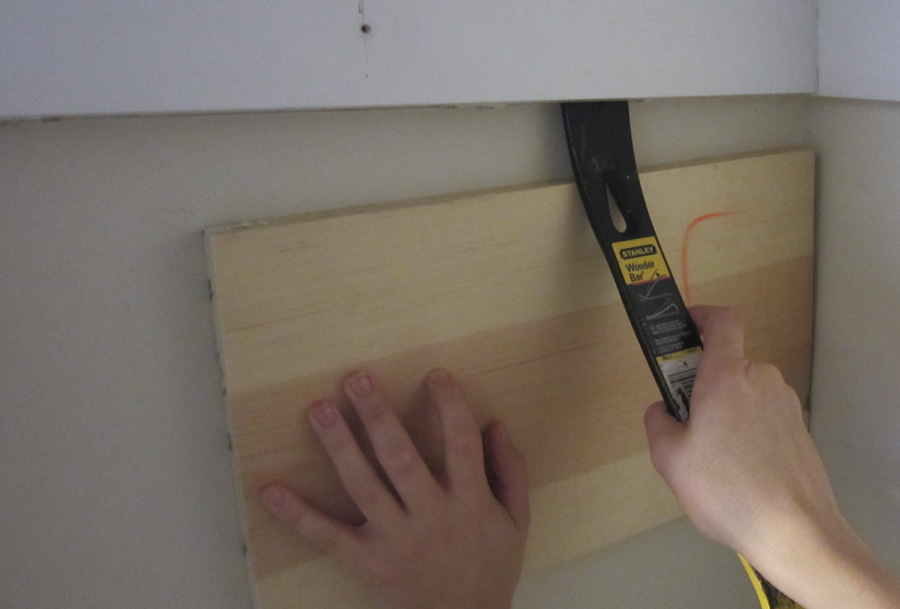
Step 3: Pry the wooden support off the wall. This is where we ran into issues with putting dents & holes in the drywall. But never again! For the guest closet we used a crowbar, a scrap of wood and a hammer. Tucking the crowbar into the crease between the wood and the drywall, we placed the wood behind the crowbar and used that as our leverage for prying. The wood evenly distributed the pressure – saving the drywall from a rocky future. 

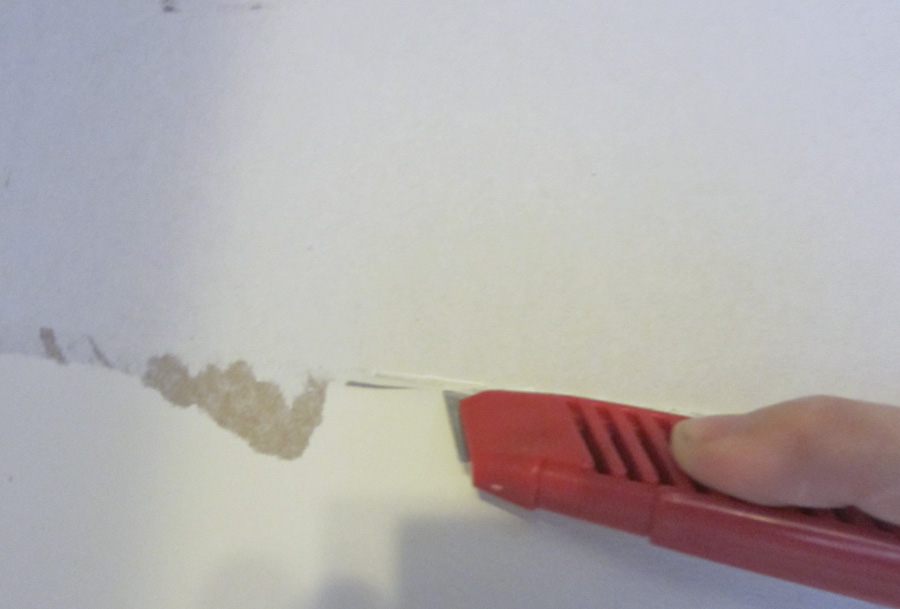
Step 4: Once the supports are gone, you’ll usually find a lip outlining where they once were. That would be caulk, and you can use an exacto knife to lightly cut around it and peel it off.

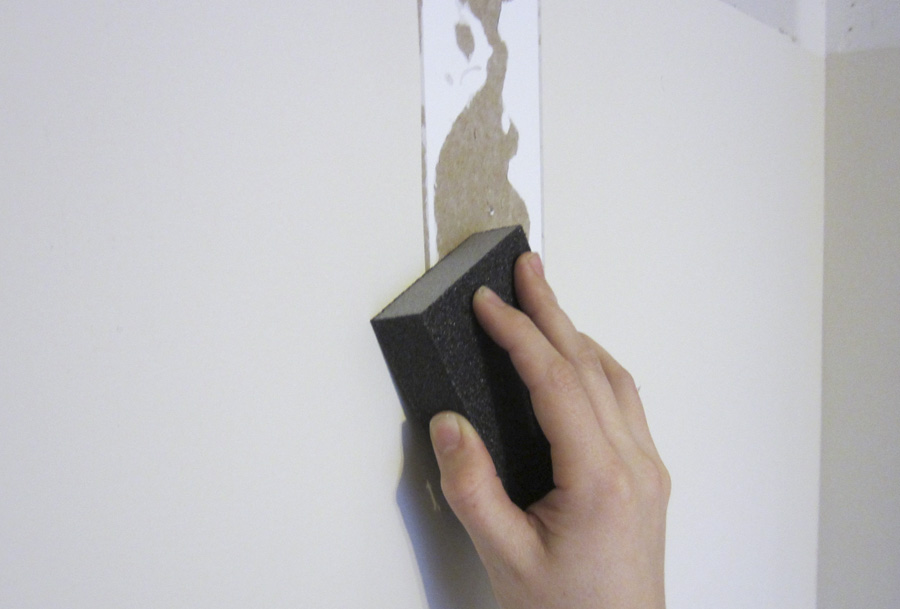
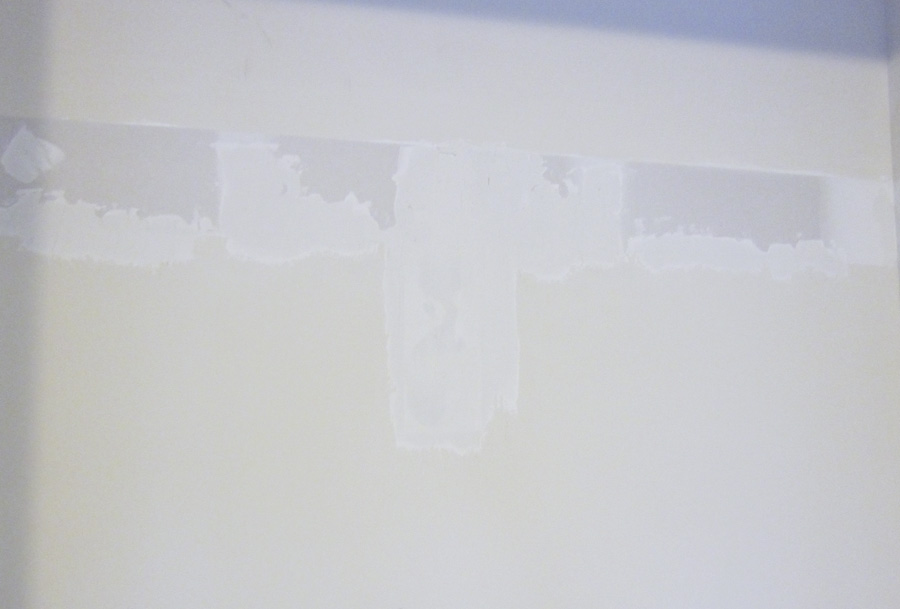
Step 5: It’s likely some of the drywall’s paper backing ripped off and there are probably some uneven spots. I just spackled and sanded these areas to get a smooth finish.

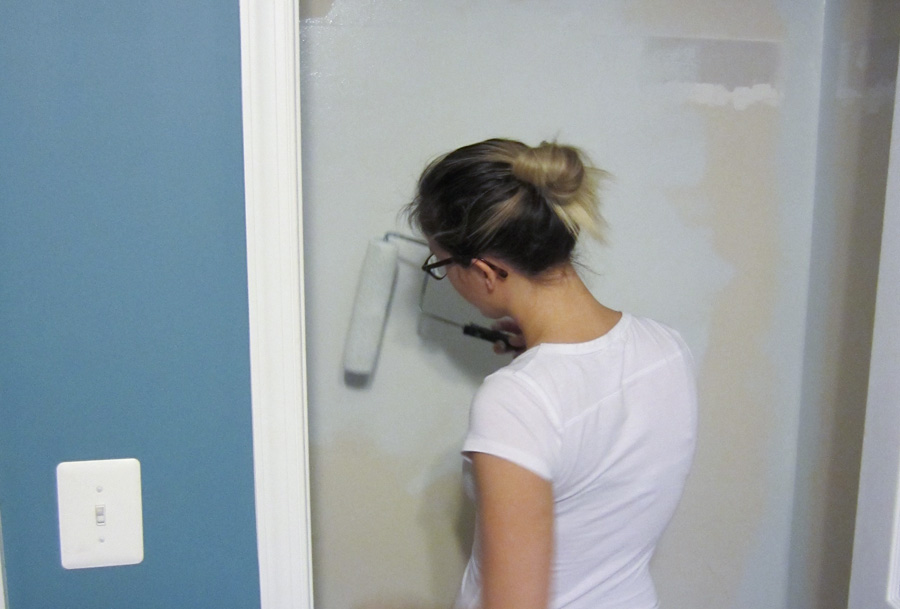
Step 6: After cleaning up the dust and wiping down the walls & baseboards, I applied two coats of the paint leftover from our master bath (Drizzle Sherwin Williams 6479). It’s a nice neutral that reflects light but doesn’t tint everything in the closet a weird shade. In case you were wondering, I painted the ceiling too (not that you can see it...)

Step 7: Install the closet system per the manufacturer's instructions. I allotted minimal space to hanging clothes, since most guests aren’t bring much with them, and the rest to shelving to hold all our misfits.

Finding Storage in a Small Bathroom

When we first moved in I was blown away by the master bathroom – what with it being so spacious and luxurious and masterful and … I … can’t … keep this up. Eeeet's a joke. There’s nothing grand or masterful about it. It's really quite teensy – the wide-angle lens is doing it a lot of favors here.

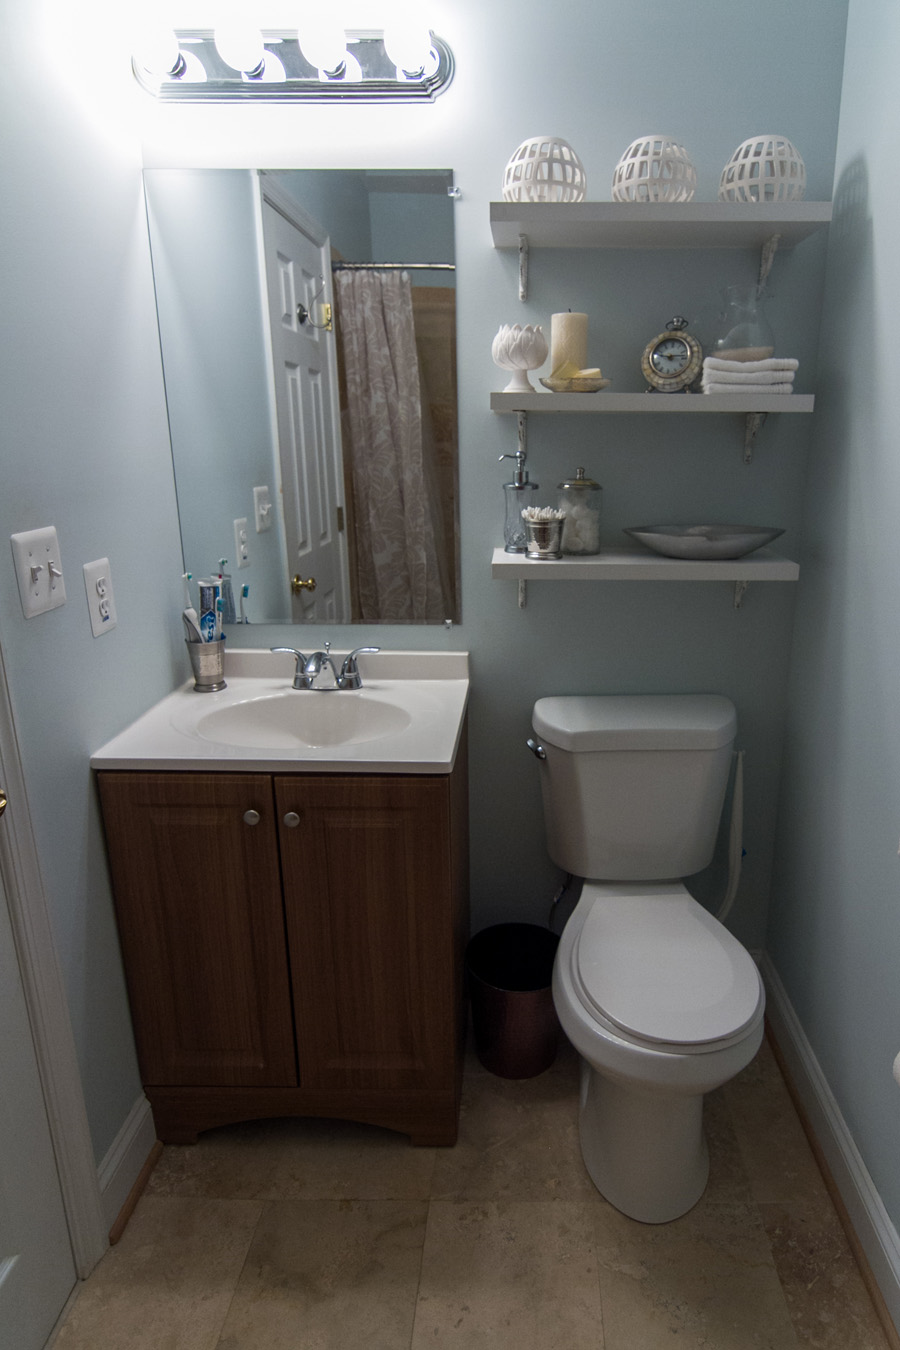
Our small master bath utilizes smart storage to make the most of the space.
We used a shower curtain in a similar tone as the tile in our small master bathroom, but eventually I'd like to build a walk-in shower that's partitioned with glass instead of a curtain.

There's zero natural light, and the builders chose literally the cheapest light fixture they could find at Home Depot. The towel and toilet paper racks were also discount finds; they were installed so poorly that the towel bar would fall off whenever it had to bear the burden of a towel and the toilet paper holder would tip uneasily toward the floor, sending the TP roll tumbling like a ribbon dancer. (I replaced them immediately) We have a single vanity that's all sink no counter and the plumbing cuts into a lot of the storage space below. That's a big deal because we don't have a linen closet or medicine cabinet 'round these parts. But enough of my kvetching. Let’s talk about the good: everything is new (!!!), there’s running water, I can take a shower or a bath, the tile is a neutral color, it’s attached to our bedroom, there's an identical one a few feet away. Tons to be grateful for! 
For me, the mission in this bathroom is twofold: make the room feel bigger/brighter/more masterful AND find space to fit all my toiletries. So far I've only accomplished the latter.

I may have told you at some point that I don’t like to have a lot of stuff because stuff takes up space. I probably neglected to mention my guilty exceptions – namely, toiletries (andclothesandshoes). I’ve been collecting all sorts of beauty products over the years and it’s hard to let go of them. How could I possibly choose between the sea salt hair spray for beach waves and the moroccan oil for silky straight locks? I simply can't! And so my beauty collection begins to spiral out of control. Some of you must experience the same thing, right? (Right???) Then there are super basic items – towels, wash cloths, toothpaste, hand soap, q-tips that also need a readily accessible home. Without a linen closet all these things start to feel really daunting, so here's how I handled them.

Stick to a simple color palette 

I chose a simple three-color palette to minimize visual noise in our small master bathroom

I wanted a light and airy bathroom that would feel spacious even if it isn't spacious. One good way to expand a room is by seriously limiting the number of colors that appear. If everything is similar in tone, lines start to blur and your eye can flow from one thing to the next without stopping, making it feel less crowded. The tiles selected by the builder were a warm sandy color – so if I was really following this rule I might have chosen a very light tan for the walls. Unfortunately in this scenario, I personally prefer cool tones (that skew blue – if you haven't noticed) over warm ones (that skew red...or tan), so I chose a light gray (Drizzle Sherwin Williams 6479) to play up the gray undertones I spied in some of the tiles. Our third color was set by the toilet, sink and tub – white. After I had my color trifecta – gray, white, and sand – I moved on to the actual problem: storage. 

Remove the beauty stuffs from the equation

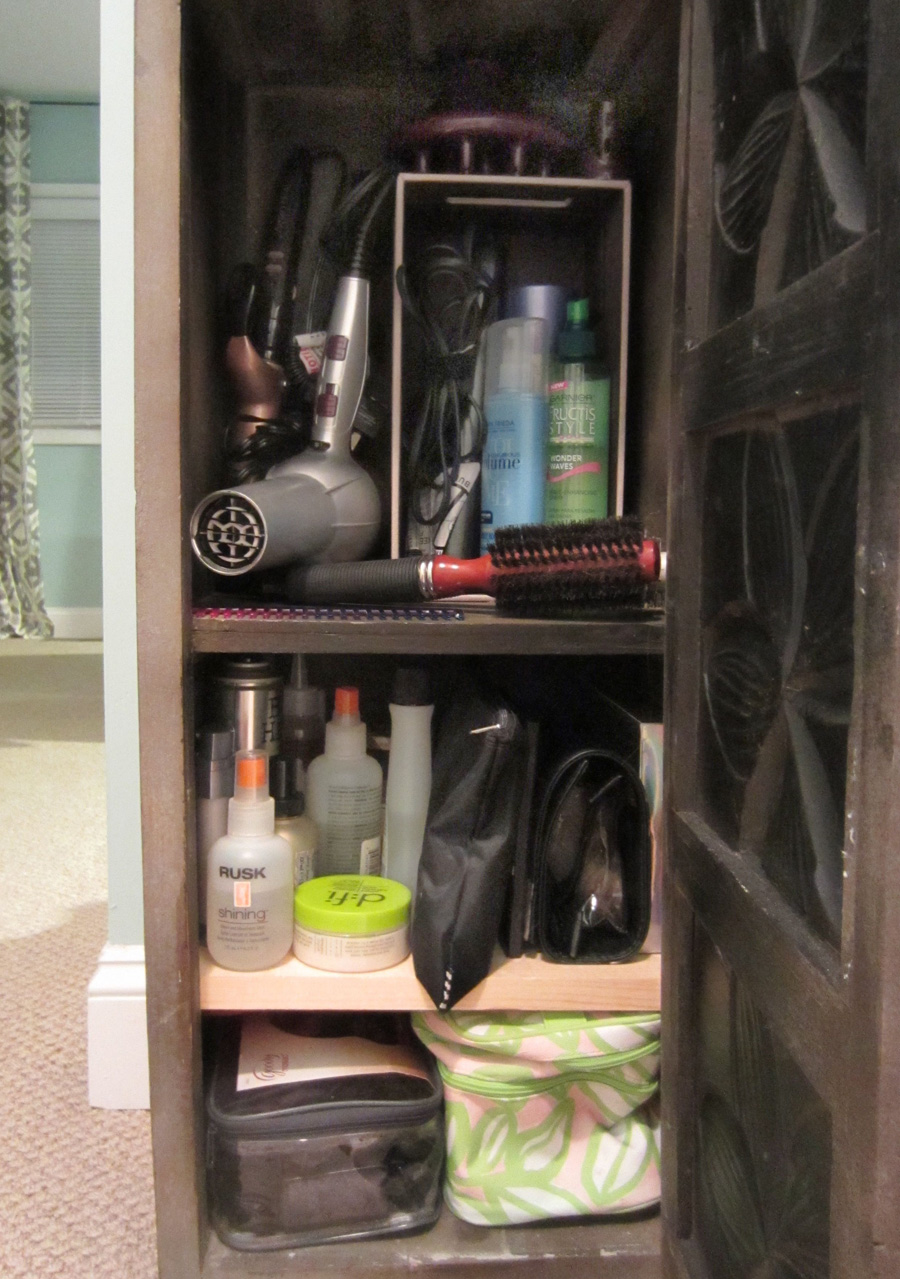
I know, I know! I was just saying how I needed room in the bathroom for all my products. But then I thought about it – the reason I get ready in the bathroom (and thus store my stuff there) is because there's usually a bright light, a big mirror, and a counter to set my products on. This bathroom has pretty 'meh' lighting (though it looks positively blinding in these pictures...lies, all lies) plus there's no actual counter space around the sink, so things just get knocked over and next thing you know your favorite mascara is rocketing into the toilet. No bueno. So I said, "screw that!" and created a separate vanity (in a loose sense of the word) in the corner outside the bathroom. Seems like cheating, but if you have one square foot to spare somewhere, you could too. I went to Homegoods and picked up a tall, narrow cabinet and an interesting, equally narrow mirror to hang above it. Now it just needs a fun light fixture and it will be my jam. It feels great to have all my beauty supplies in one place, and it makes the bathroom storage conundrum way easier.

A very small vanity outside our very small master bathroom
Use compartments to store makeup and toiletries
Storage for hair products is made easier with compartments in the vanity.

Sort the rest by how often you use it and how well it fits into the color palette

With everything I hoped to store in the bathroom in front of me, I picked out the stuff I use everyday: hand soap, toothpaste, q-tips, face wash, lotion, contacts & glasses for my vision... These things need to be really easy to reach and they're generally small enough or come in enough colors that I can work them into the color scheme. Then there are a few things that I don't use every day but that happen to be the right color and visually very basic, e.g. white wash cloths, cotton balls, bath salt. I set those two collections aside as things that could live out in the open if I ran out of closed storage. Everything else is generally hideous and needs to be hidden in shame. Naturally.

Compartmentalize storage

In every place before this one, I've played Jenga under the bathroom sink (wikipedia describes it as "a game of physical and mental skill" which sounds about right). I would just stack everything as high as I could, with one precarious stack leaning on another precarious stack, and if I ever needed to find something odds were 9 to 1 that it would all come tumbling down. I took a new approach this time and can't believe I waited so long. Compartments, guys – compartments! I picked up a few small wire baskets from Ikea and screwed them into the back of the cabinet doors to hold common (read: ugly) stuff. Now I don't have to go all crouching tiger hidden dragon to find the one small thing I need! I also picked up some drawers, baskets and trays that can be stacked and still easily accessed. The same principle is working for me in my new beauty corner, which sports small storage containers and a second shelf installed by moi to store more without slipping back into my old ways.

Compartments and baskets make all the difference under a small sink!

Utilize vertical space

You've heard this one from me before, but it holds true! The walls are your oyster. I miraculously fit almost everything in the cabinet with a lot of help from new compartments, so I turned my attention back to the things I previously set aside (contacts, q-tips, etc) I installed wall shelves and disguised my everyday things as decorative objects. Sneakay, sneakay.

Shelves help utilize vertical space in this small master bathroom

Make the ordinary look special

If I'm gonna have to look at the stuff on the shelves every day it sure as hayyyyyl better look pretty! I picked up some attractive containers from Homegoods (sticking to my strict color palette, of course) – a dispenser for hand soap, a cup for q-tips, a pitcher for bath salt... The white feather cup is hiding a few weeks' worth of contact packets but you would never know! I stole the oblong metal dish from another room to be a catch-all for glasses, lotion and a lighter for the candles. Yes, candles. Who doesn't want to feel like they're at the spa every day? The white candleholders on the top shelf were on clearance at CB2 for like $2 each, so I bought six. (I should have bought 10) And that pretty clock was another Homegoods find that is handy for telling me I'm running late to work (oops). These lil add-ons also keep the shelves from looking like a pantry.

Contacts are disguised in the cup to the left, while bath salts are sittin' pretty in a pitcher on the right.

Do you really need 6 towels?

Maybe you do. We don't. The master and guest baths each get 2 (+ a hand towel). I simply don't have space for loads of extra linens, guys! When the towels get dirty, I wash them! No biggie. If two ever becomes too few, I can rest easy knowing there's always the option of expanding onto the second bar of my new double-barred towel rack

Double bar towel rack leaves room to expand my linen collection

Install a medicine cabinet if you can

I left this tip for last because it's probably not an option for renters and because I haven't actually done it yet, BUT a medicine cabinet is a great way to create hidden storage and get small things off the counter. (I'm looking at you, toothbrush/toothpaste) I picked one up for $25 from a thrift shop in Alexandria, Va. called Second Look, but we haven't gotten around to installing it yet (you probably saw it in the laundry room pictures). We could mount it on the surface of the wall, but I'd prefer to have it inset. I'm still trying to convince Eli that it won't be all that difficult to do, but in the meantime it waits on top of the dryer.

This set of super simple changes has made all the difference in this teensy bathroom. I've got storage that works for us, so now I can move on to the far more exciting changes that will kick it up a notch or 20. And of course what you've seen today is by no means an "after," but let's look at a couple befores, just for giggles:

listing-photo-master-bath.jpg

Those tan walls are making that toilet look extra creamy, and the gray brings them back to a fresh white. But still, blehhhh…

before-master-bath.jpg

Future plans include a new light fixture and installing the medicine cabinet (obvi), painting the sink cabinet, swapping out the traditional door for a sliding barn door, and – if we can swing it – converting the tub/shower to a walk in shower with glass instead of a curtain. Might have to lose the bath salts if that happened. How do you guys feel about walk-in showers vs. shower/tubs? 


Happy Fourth of July – Let There Be Light!

I hope y'all are having a crazy fun holiday! (or recovering from all the excitement if it's now Monday) Last week I shared how I built a knock-off West Elm headboard and I didn't even mention my bed's fancy new earrings. The nerve!

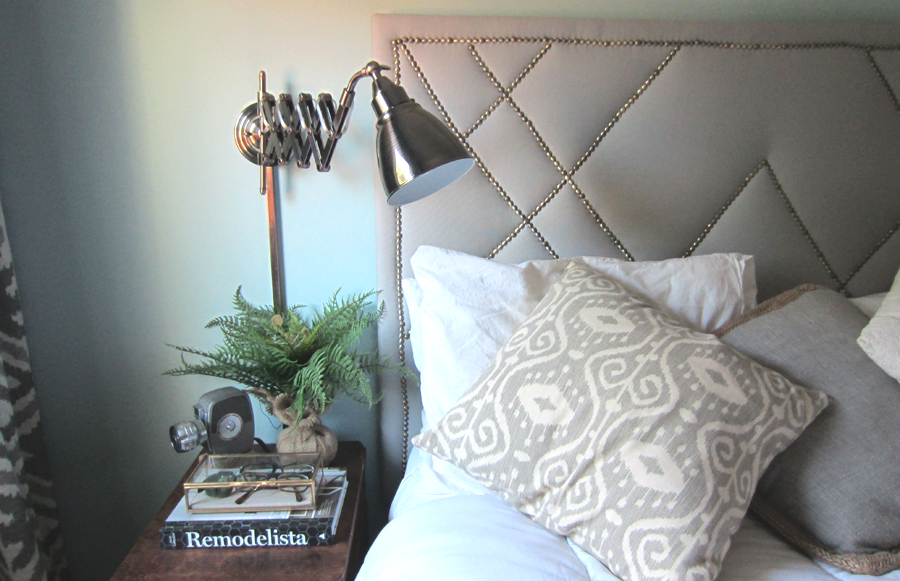
My new accordion sconce light fixture is the perfect bedside night light

They’re new, made by Kenroy Home, and I’m so happy they’re here. Especially since this is what we were rockin' before:

The master bedroom before we installed a headboard or bedside sconces

Those mismatched lamps have been traveling with me from apartment to apartment since college, but their ramblin’ days are over. And that white conehead on the right is a sunrise simulator to peel me out of bed in the dark winter mornings. Thank God it's now summer, the sun is shining, that ugly monstrosity is stashed out of sight, and I got me some bedside bling!

Accordion bedside sconces

Bedside sconces are a great option for small bedrooms because they don't take up any real estate. They're like a top-notch waiter at a really nice restaurant – so good you almost forget they're there (except magically your water glass is full, the crumbs on the table have disappeared, and you feel like royalty). Yes, sconces are just like that. If you don't have space for a big nightstand (or any nightstand at all), you can hang a stylish light fixture and save room for other nighttime necessities. No fumbling under a big lamp shade to turn them on and off, either – just function and polish. 

Speaking of lampshades and polish, I picked up this pro-tip from Emily Henderson when E & I were working on set for the Suite Style Contest: fabric shades are preferable to metal ones in the bedroom because they diffuse light for a relaxing ambience, whereas metal creates a very directional light that's better for reading. By this time my light fixtures had already been sitting in my living room for, oh, 2 months. No matter. It makes total sense and you can put that tip to good use but it was too late for me – I'm a lost cause who is (gratefully) still happy with my metal accordion lights. Here are some other sconces I was considering:

Some of my favorite options for bedside sconces.

1. West Elm Accordion  |  2. Etsy Brass Scissor Sconce  |  3. West Elm Lens Sconce  |  4. Crate & Barrel Jax White Sconce  |  5. Vivianne Gold Brass  |  6. Addison Pharmacy Swing Arm Lamp

Installing these lights was a super quick update – we knocked it out in less than an hour and still had time to catch the season finale of GOT before bed. There are just four steps: Position, Secure, Cover and Plug. 

1. Position that puppy

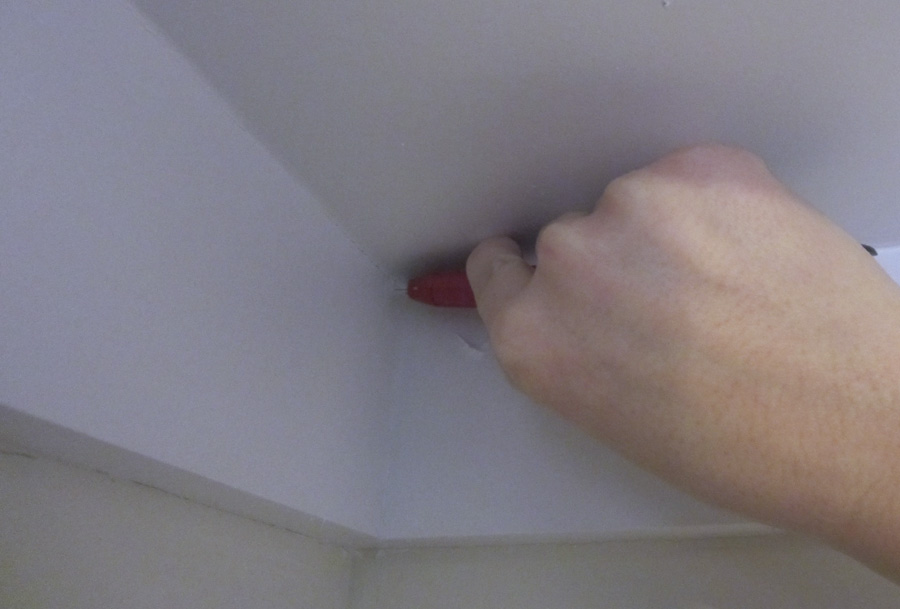
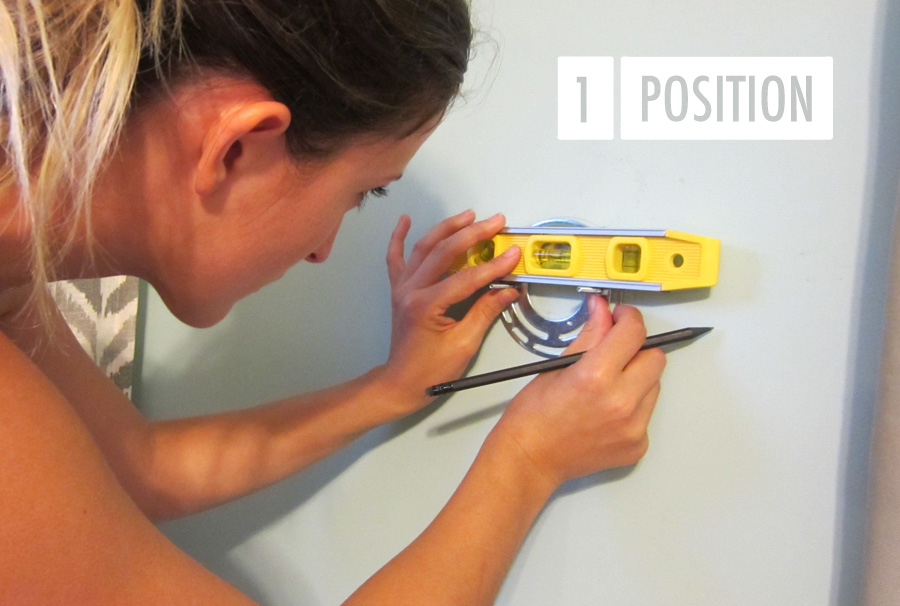
We decided where we wanted them by taking turns holding them up on the wall. Very scientific – I know. They needed to be high enough to provide some reading light, easy to reach from bed, and centered over our nightstands. Once we found the spot, I marked it on the wall with a pencil and we moved on to step 2.

Step 1: Position the mounting plate for your accordion sconces

2. Secure it to the wall

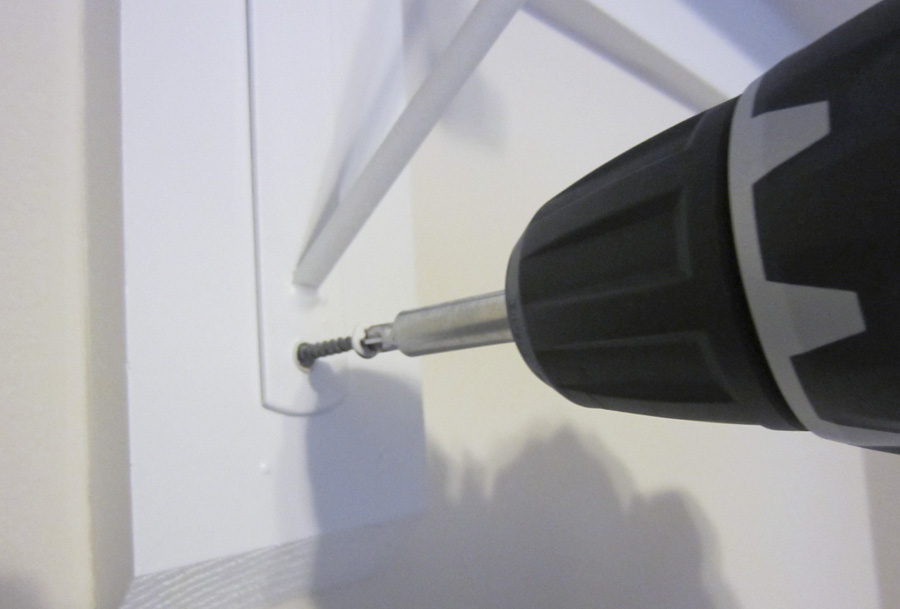
The mounting hardware included with our light was a circular plate with two screws. I positioned it so the screws would be level and marked the holes we'd need to drill. The headboard was hogging all the studs, so we had to use drywall anchors for these guys. We drilled pilot holes, placed the anchors and came back with the wood screws included in the packaging. Before tightening them down all the way, we busted out the level again to check our work. The mounting plate gave us some wiggle room to adjust once the screws were in – love good product design. Then we tightened down the screws, slide the fixture onto the plate, and fastened it with two ball bearings. 

Step 2: Secure the accordion sconce to the wall

3. Cut  Cover the cord

There's nothing like a jankity plastic cord to ruin a good thing. Our sconces came with cord covers (not all do), which are essentially two tunnel-like strips that fit together like a Russian doll. One piece attaches to the wall, the cord lays inside the tunnel, and the second piece slides over the first to hide it all. You can always pick these up at Lowes or Home Depot for a couple bucks if they didn’t come with your light, and I imagine you could spray paint them to mimic whatever finish you’ve got goin’ on. To make sure these were perpendicular to the nightstand, parallel to the headboard, and centered under the light, we enclosed the cord with the two covers before attaching anything to the wall. Then we got the level out again and did all of our positioning & marking before drilling any holes. Once we had our mark, we removed the front cover, moved the cord aside and screwed the base in. Tada. 

Step 3: Use the level to position the cord cover perpendicular to the floor and screw it in

4. Light it up!

We have a conveniently located outlet behind the bed, which was already home to a power strip for plugging in our phones. We added these guys to the electrical party and shared an epic, across-the-bed, slow-motion hi-five. BAM!

Going to bed feels so much more luxurious when you're not banging your shins on the corner of the bedframe. 

Getting into bed feels so much more luxurious with these accordion bedside sconces